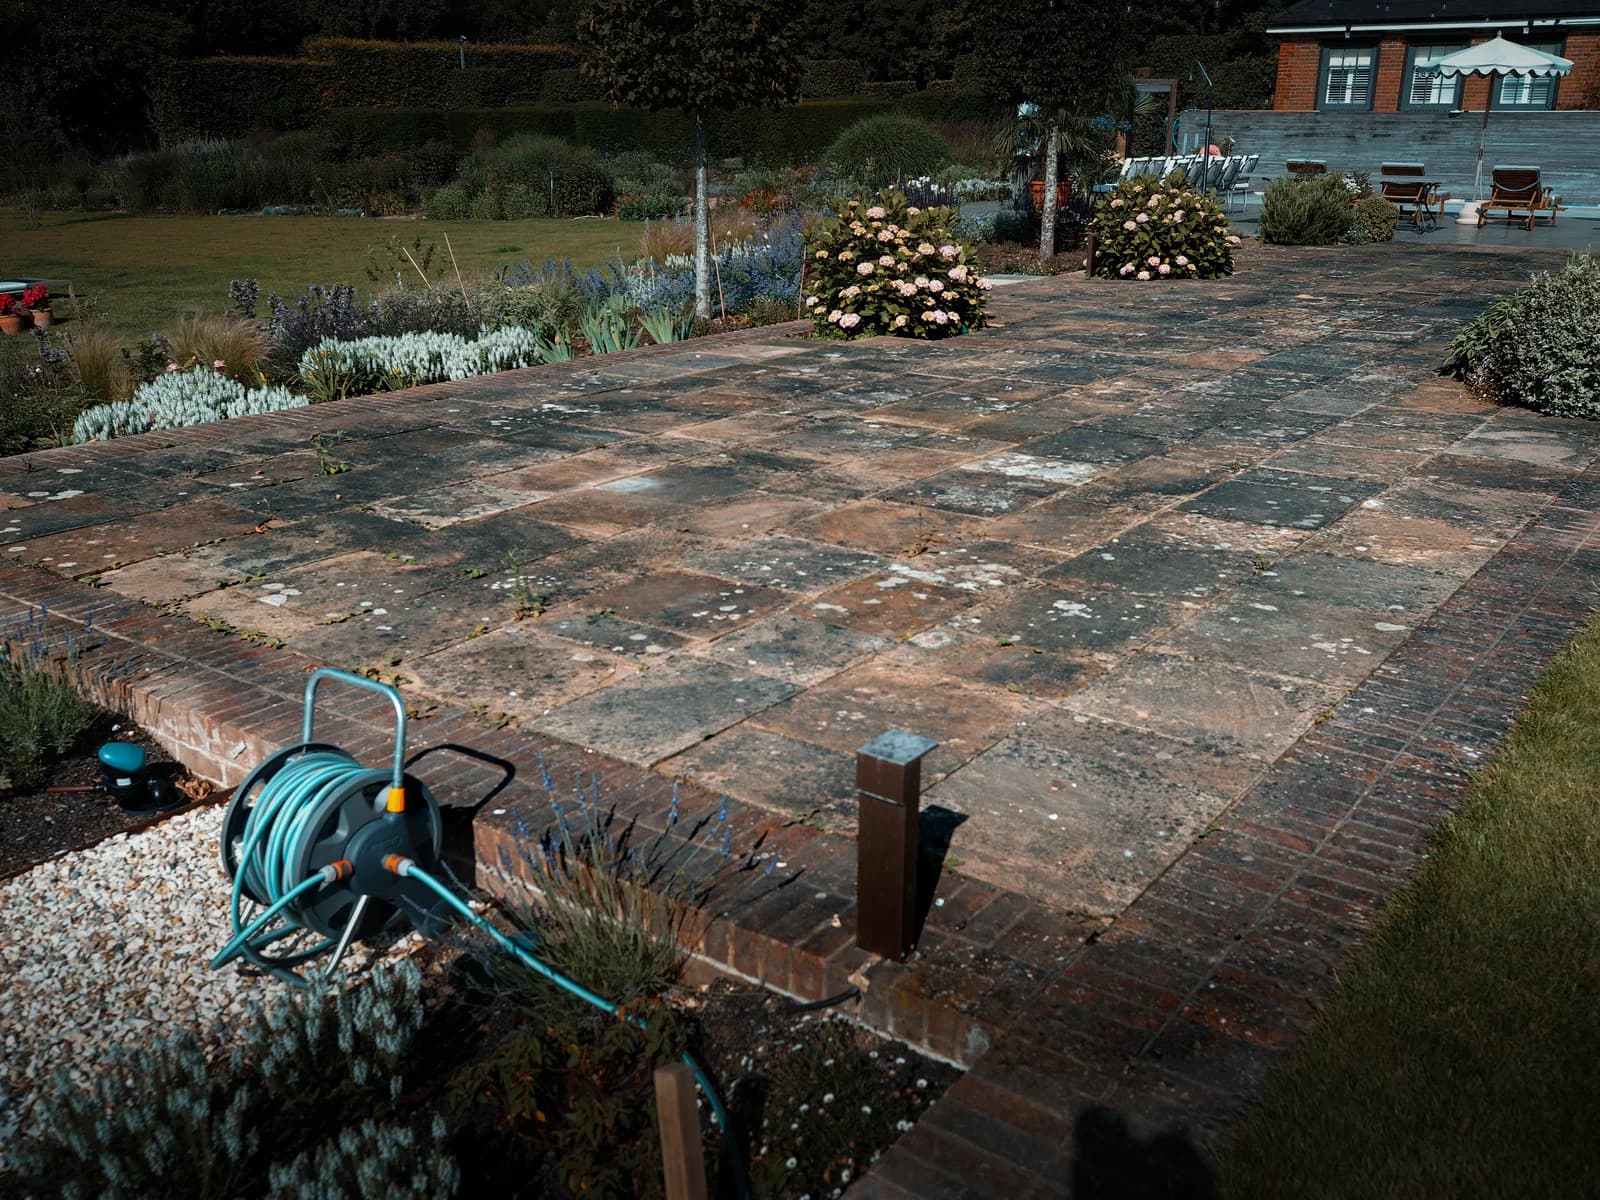
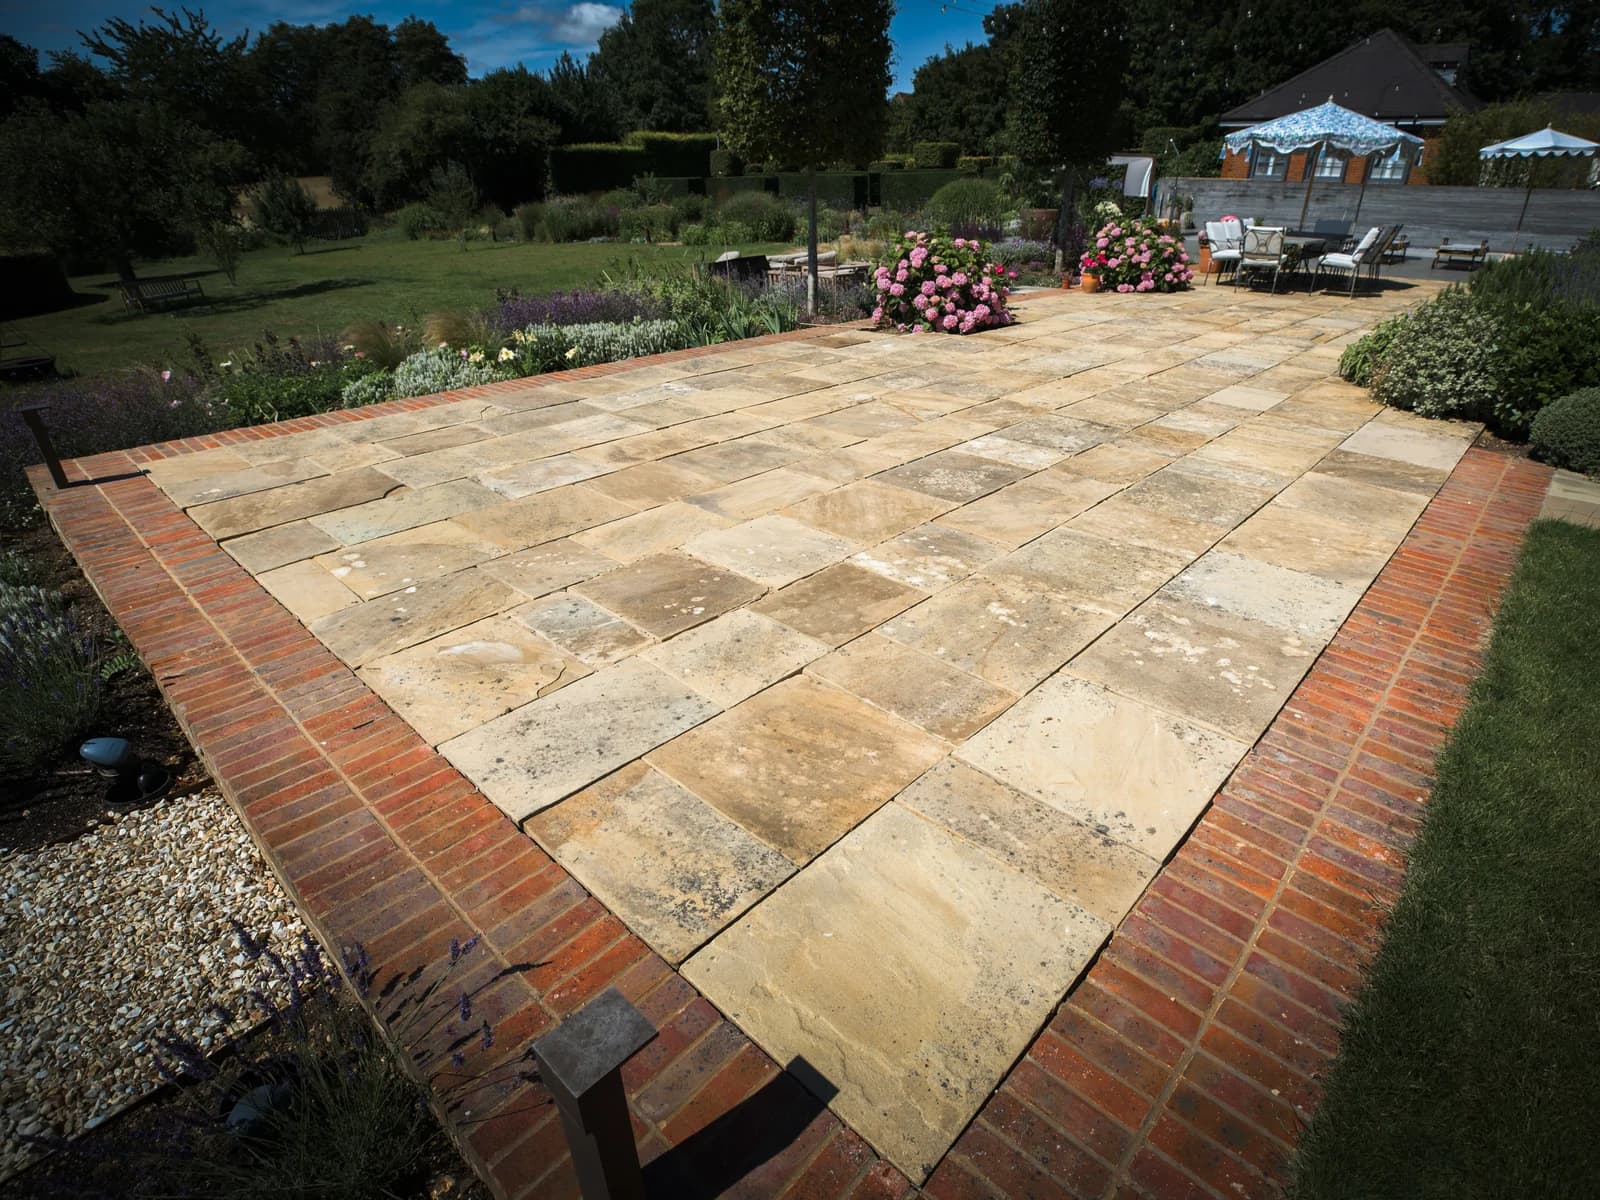
Beaconsfield

Project Transformation

Block Paved Driveway Cleaning in Beaconsfield

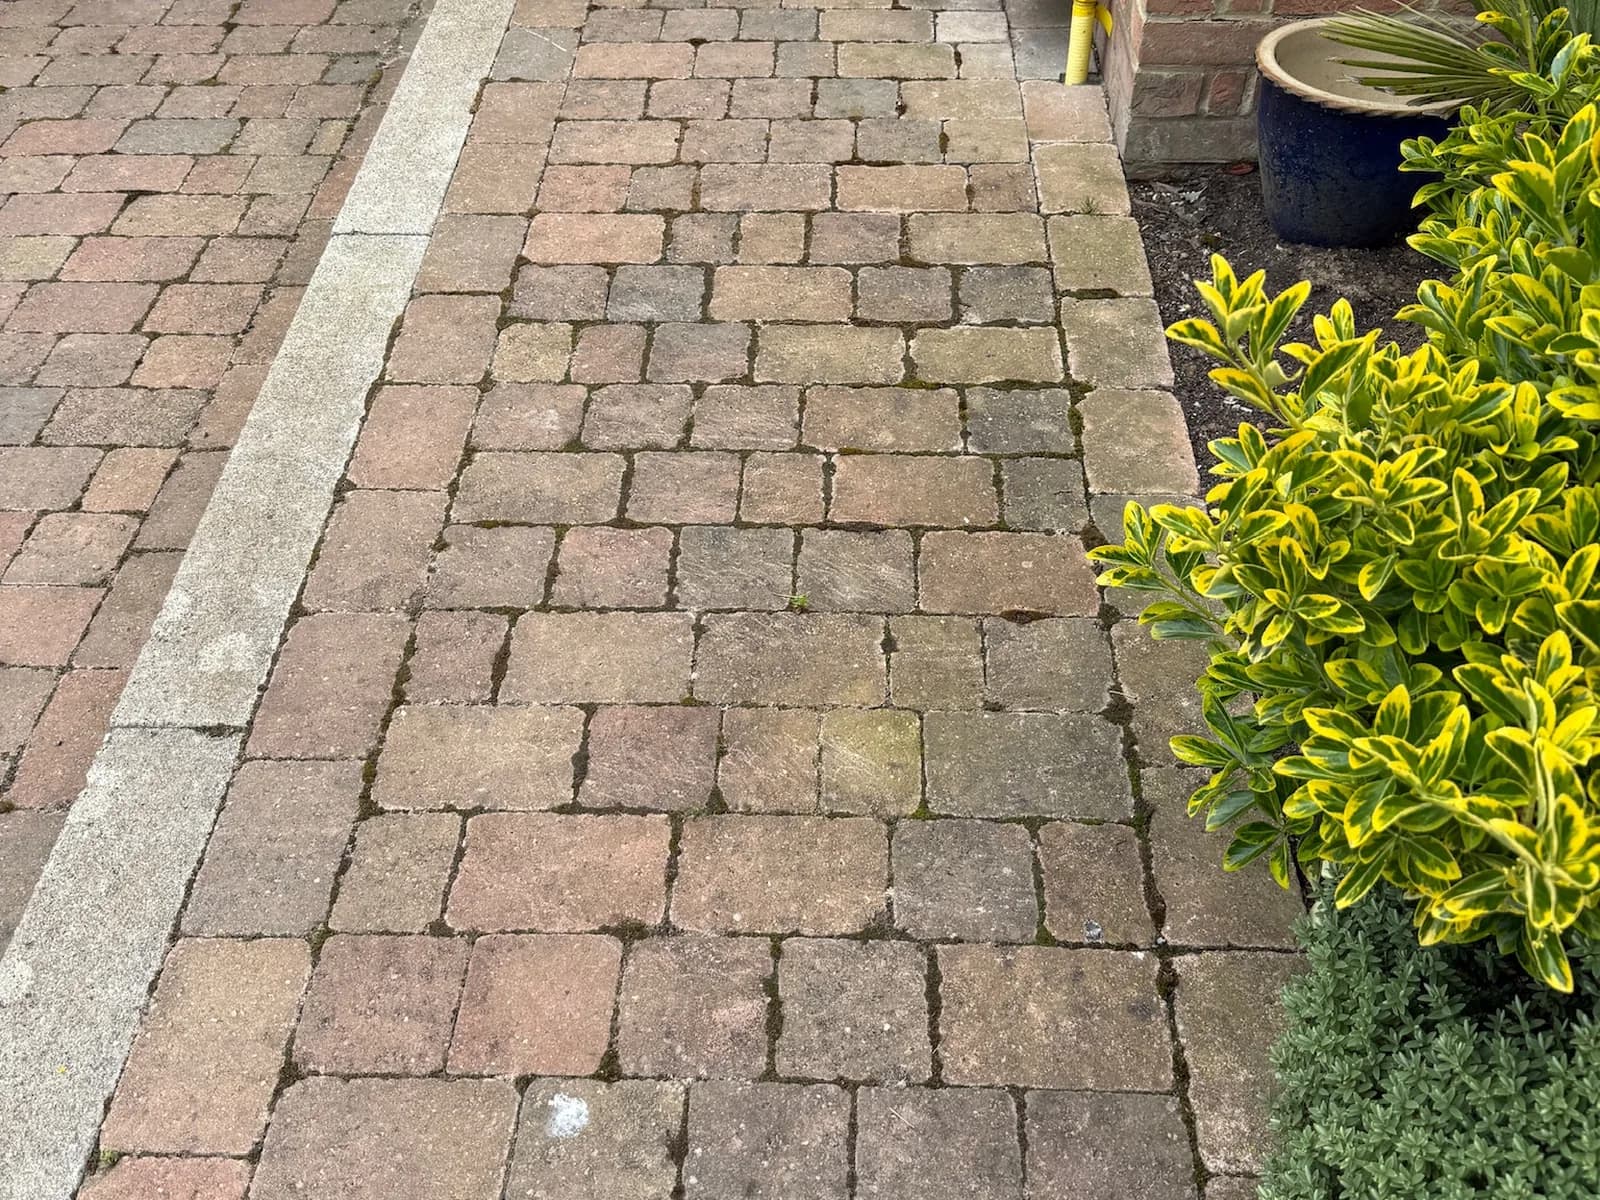
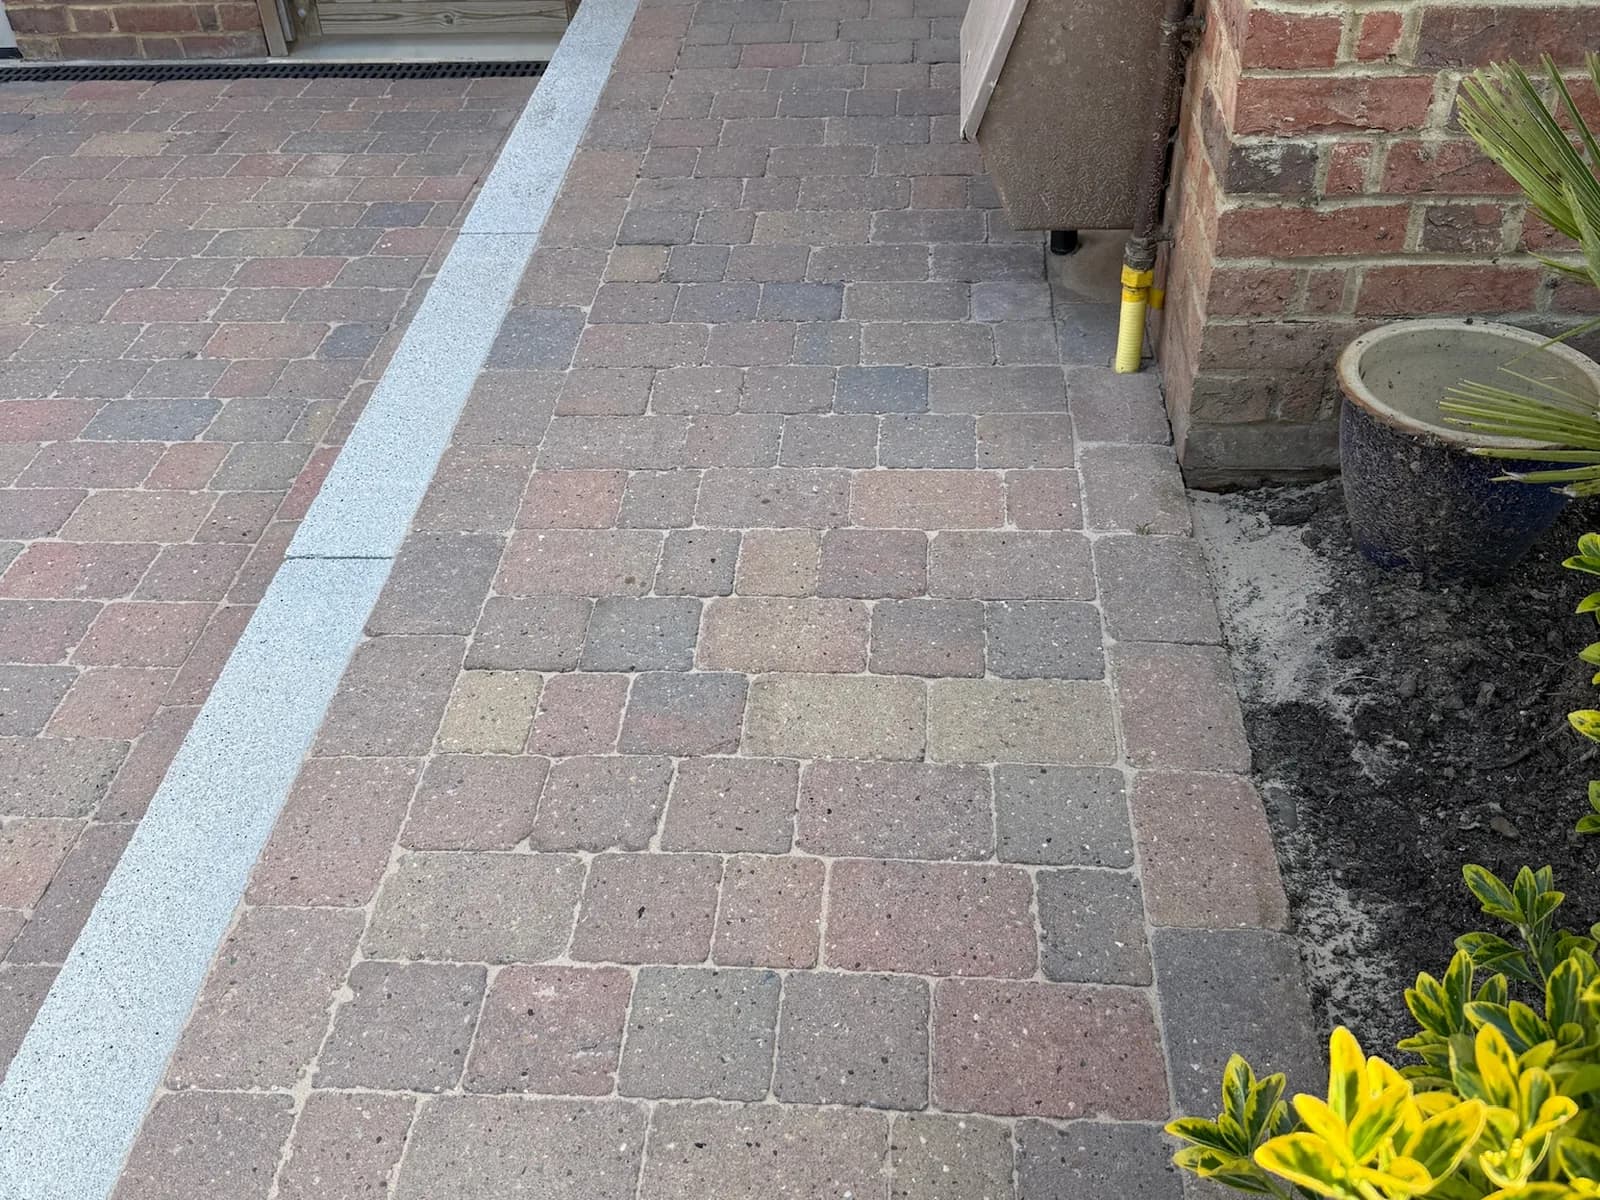
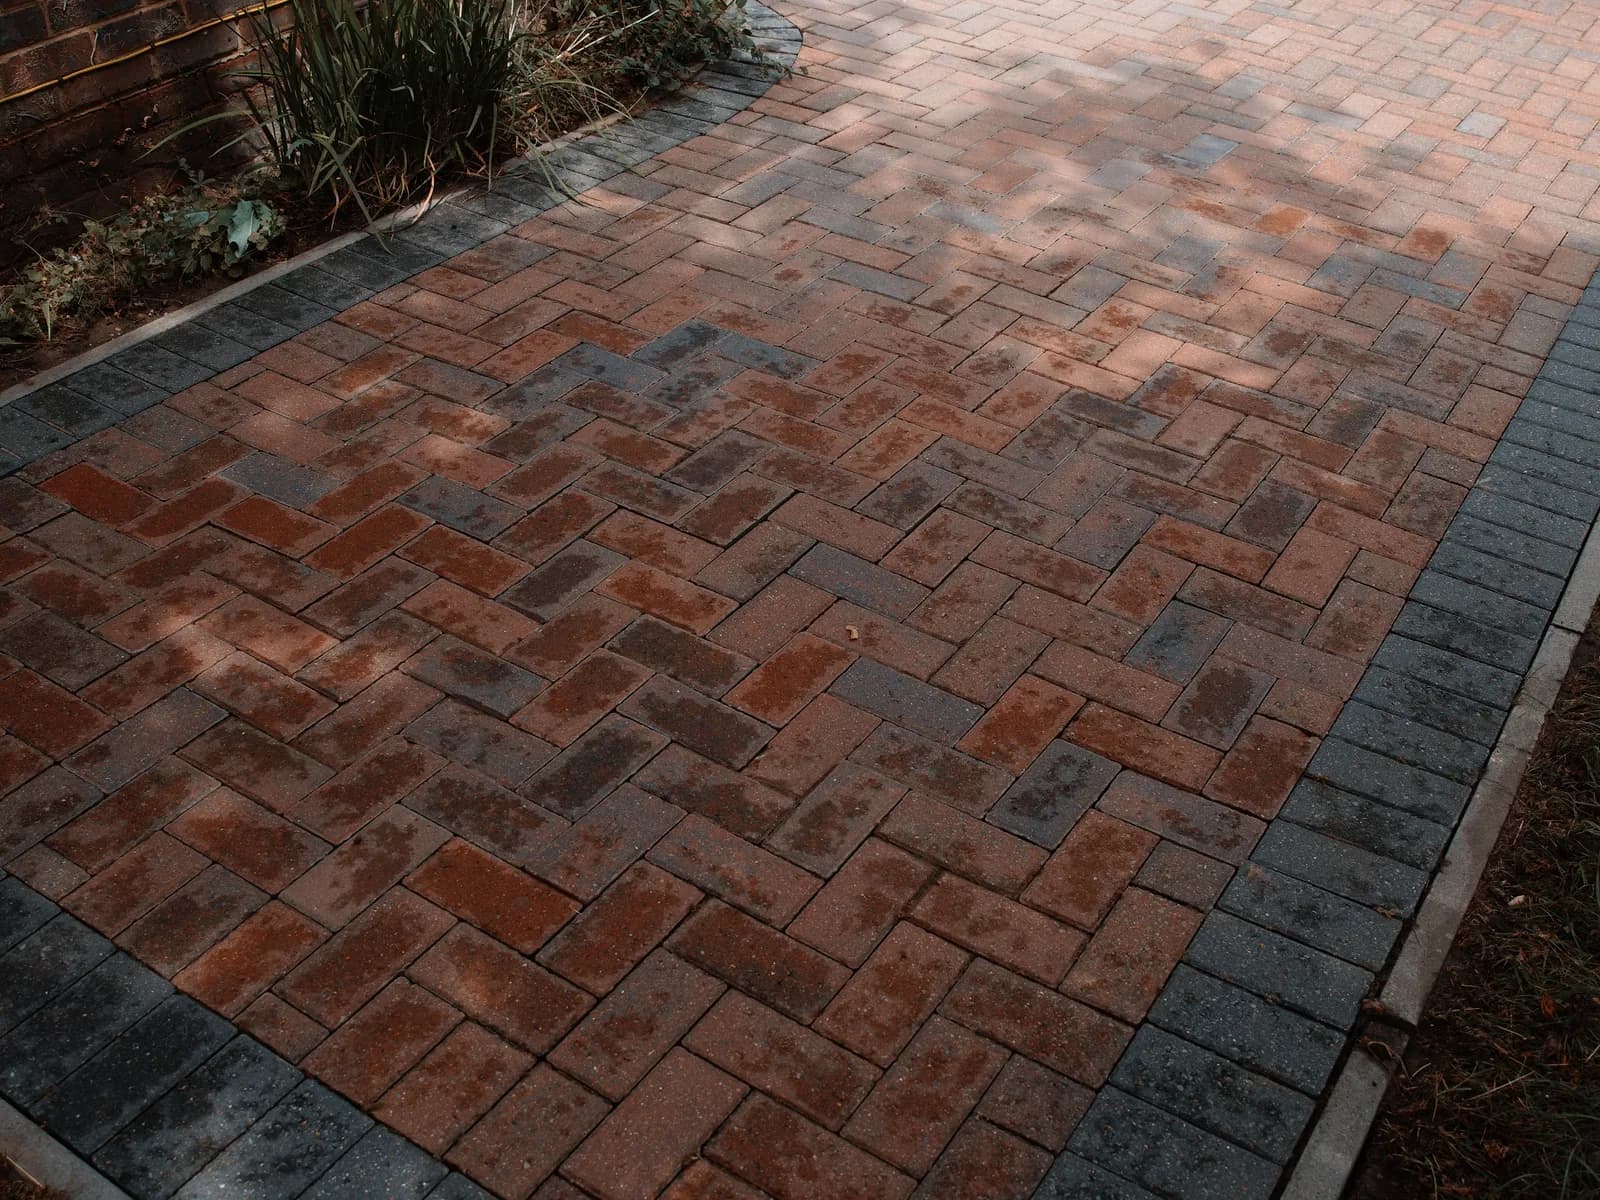
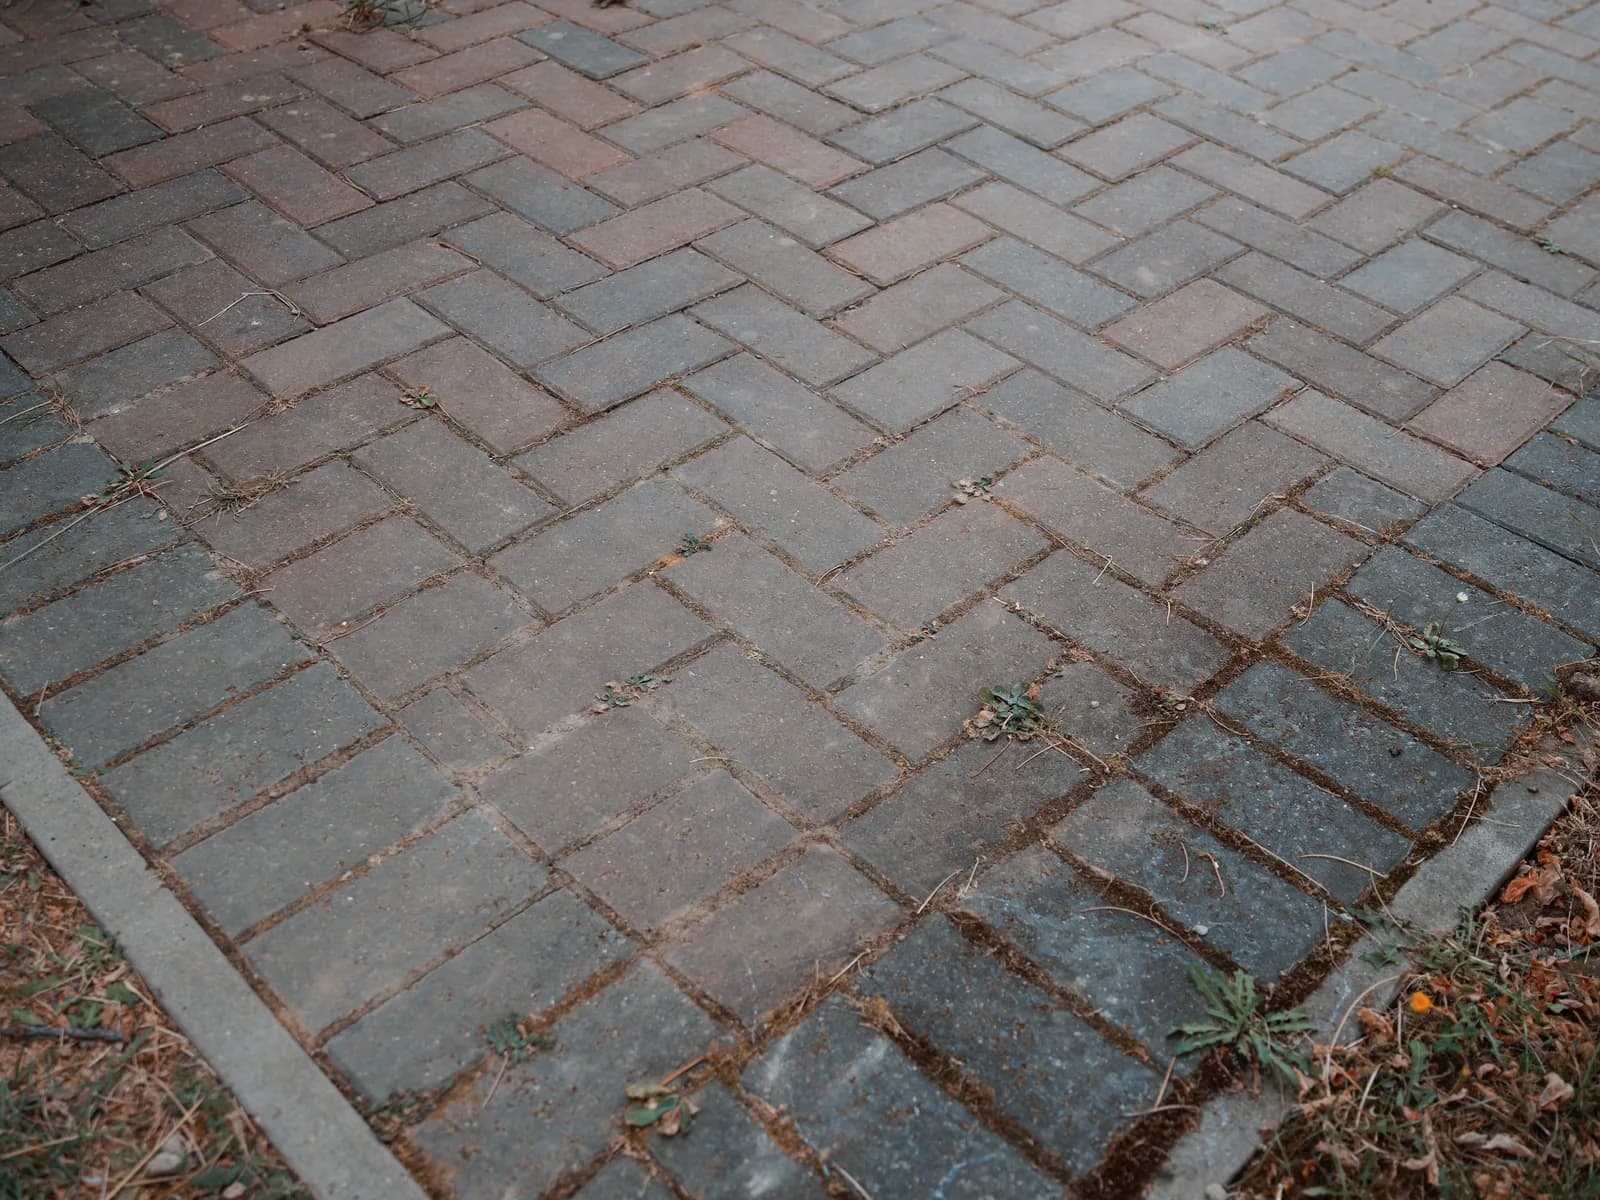
A herringbone block driveway in Beaconsfield, greened over and seeding weed from every joint, cleaned back to the block colour with the joints re-sanded.

  • Joints re-sanded
  • Even rotary clean
  • Blocks locked back together
Driveway Cleaning in Beaconsfield — afterDriveway Cleaning in Beaconsfield — beforeBeforeAfter

About the project

The transformation

Before work began, we inspected the driveway to assess the condition of the block paving, identify areas of emerging black spot and establish the extent of weed growth within the joints. The surrounding areas were then prepared so the restoration could be completed safely and methodically while protecting adjoining surfaces, planting and external features.

The driveway underwent a thorough mechanical restoration to remove dirt, algae, weeds and organic contamination from the surface of the blocks. The existing jointing sand was also removed from between the paving. This old material had become contaminated with soil, organic spores and weed growth, so removing it was essential before introducing a new, more stable jointing system. Particular attention was given to the edges of the blocks and the full depth of the joints to create a sound foundation for the polymeric sand. Following the restoration process, the driveway received an application of Chiltern EverGuard™, our professional surface protection treatment. Chiltern EverGuard™ penetrates the surface to help protect against the regrowth of moss, algae and lichen, keeping the surface cleaner for longer. Protection typically lasts between 12 and 24 months, depending on the property's location, surrounding environment and ongoing maintenance. The treatment also helped brighten the appearance of the blocks and target the remaining biological contamination associated with algae and the early development of black spot. Once the driveway had dried sufficiently, the first application of Chiltern polymeric sand was carefully swept across the surface and into the open joints. This initial layer was worked thoroughly between the blocks to ensure the lower sections of the joints were properly filled before compaction. A professional mechanical plate compactor was then used across the driveway. This settled the paving and moved the first layer of polymeric sand deeper into the joints, reducing hidden voids and creating a more substantial joint from the bottom upwards. This stage significantly improves the stability of the block paving and supports the long-term performance of the restored driveway. Following compaction, a second application of Chiltern polymeric sand was completed. The material was carefully worked into every joint between the blocks, replacing the volume lost during compaction and ensuring the joints were completely filled to the correct level. Using a two-stage sanding and compaction process produces a considerably more stable and consistent result than simply sweeping new sand over the surface once. The driveway was thoroughly detailed to remove excess polymeric sand from the surface of the blocks. Once the paving was clear, the driveway was carefully misted with water to activate the polymers within the jointing material. As the sand cured, it formed firm but flexible joints designed to resist erosion, discourage ant activity and significantly reduce the opportunity for weeds to root within the driveway.

The completed restoration left the block paving looking brighter, cleaner and considerably better defined. With the contaminated jointing material removed, the blocks professionally restored, Chiltern EverGuard™ applied and the joints fully stabilised with activated polymeric sand, the driveway now benefits from improved resistance to moss, algae, lichen, black spot, weed establishment and damage caused by ants. The result is not simply an improved appearance, but a more stable and maintainable driveway designed to remain in better condition for longer.

  • Surface

    Block Paving

  • Location

    Beaconsfield

  • Project Type

    Driveway Cleaning

  • Completion Time

    One day on site

  • Techniques Used

    Rotary surface cleaning · Weed and moss removal · Kiln-dried joint re-sanding

  • Outcome

    Block colour restored and the joints refilled so the drive stays locked

Step by step

How this project was restored

Every project follows a careful, surface-specific process — here’s exactly how we approached this one.

  1. 01

    Initial Assessment and Area Preparation

    Before work began, we inspected the driveway to assess the condition of the block paving, identify areas of emerging black spot and establish the extent of weed growth within the joints. The surrounding areas were then prepared so the restoration could be completed safely and methodically while protecting adjoining surfaces, planting and external features.

  2. 02

    Deep Driveway Restoration

    The driveway underwent a thorough mechanical restoration to remove dirt, algae, weeds and organic contamination from the surface of the blocks. The existing jointing sand was also removed from between the paving. This old material had become contaminated with soil, organic spores and weed growth, so removing it was essential before introducing a new, more stable jointing system. Particular attention was given to the edges of the blocks and the full depth of the joints to create a sound foundation for the polymeric sand.

  3. 03

    Chiltern EverGuard™ Treatment

    Following the restoration process, the driveway received an application of Chiltern EverGuard™, our professional surface protection treatment. Chiltern EverGuard™ penetrates the surface to help protect against the regrowth of moss, algae and lichen, keeping the surface cleaner for longer. Protection typically lasts between 12 and 24 months, depending on the property's location, surrounding environment and ongoing maintenance. The treatment also helped brighten the appearance of the blocks and target the remaining biological contamination associated with algae and the early development of black spot.

  4. 04

    Initial Polymeric Re-Sanding

    Once the driveway had dried sufficiently, the first application of Chiltern polymeric sand was carefully swept across the surface and into the open joints. This initial layer was worked thoroughly between the blocks to ensure the lower sections of the joints were properly filled before compaction.

  5. 05

    Mechanical Compaction and Stabilisation

    A professional mechanical plate compactor was then used across the driveway. This settled the paving and moved the first layer of polymeric sand deeper into the joints, reducing hidden voids and creating a more substantial joint from the bottom upwards. This stage significantly improves the stability of the block paving and supports the long-term performance of the restored driveway.

  6. 06

    Secondary Polymeric Re-Sanding

    Following compaction, a second application of Chiltern polymeric sand was completed. The material was carefully worked into every joint between the blocks, replacing the volume lost during compaction and ensuring the joints were completely filled to the correct level. Using a two-stage sanding and compaction process produces a considerably more stable and consistent result than simply sweeping new sand over the surface once.

  7. 07

    Surface Detailing and Mist Activation

    The driveway was thoroughly detailed to remove excess polymeric sand from the surface of the blocks. Once the paving was clear, the driveway was carefully misted with water to activate the polymers within the jointing material. As the sand cured, it formed firm but flexible joints designed to resist erosion, discourage ant activity and significantly reduce the opportunity for weeds to root within the driveway.

  8. 08

    The Finished Result

    The completed restoration left the block paving looking brighter, cleaner and considerably better defined. With the contaminated jointing material removed, the blocks professionally restored, Chiltern EverGuard™ applied and the joints fully stabilised with activated polymeric sand, the driveway now benefits from improved resistance to moss, algae, lichen, black spot, weed establishment and damage caused by ants. The result is not simply an improved appearance, but a more stable and maintainable driveway designed to remain in better condition for longer.
More of our work

Other recent projects

View all projects
  • Driveway Cleaning in Gerrards Cross — before
    Driveway Cleaning in Gerrards Cross — after

    Gerrards Cross Block Paved Driveway Restoration

    This block paved driveway had significant moss growth within the joints, along with years of dirt and organic build-up that had dulled the natural colour of the paving. We began by assessing the condition of the driveway and planning the most effective restoration process.

  • Patio Cleaning in Marlow — before
    Patio Cleaning in Marlow — after

    Marlow Patio Restoration

    A natural stone patio in Marlow showing heavy moss growth and widespread black spot, cleaned back to the stone and protected with Chiltern EverGuard™.

  • Patio Cleaning in Penn — before
    Patio Cleaning in Penn — after

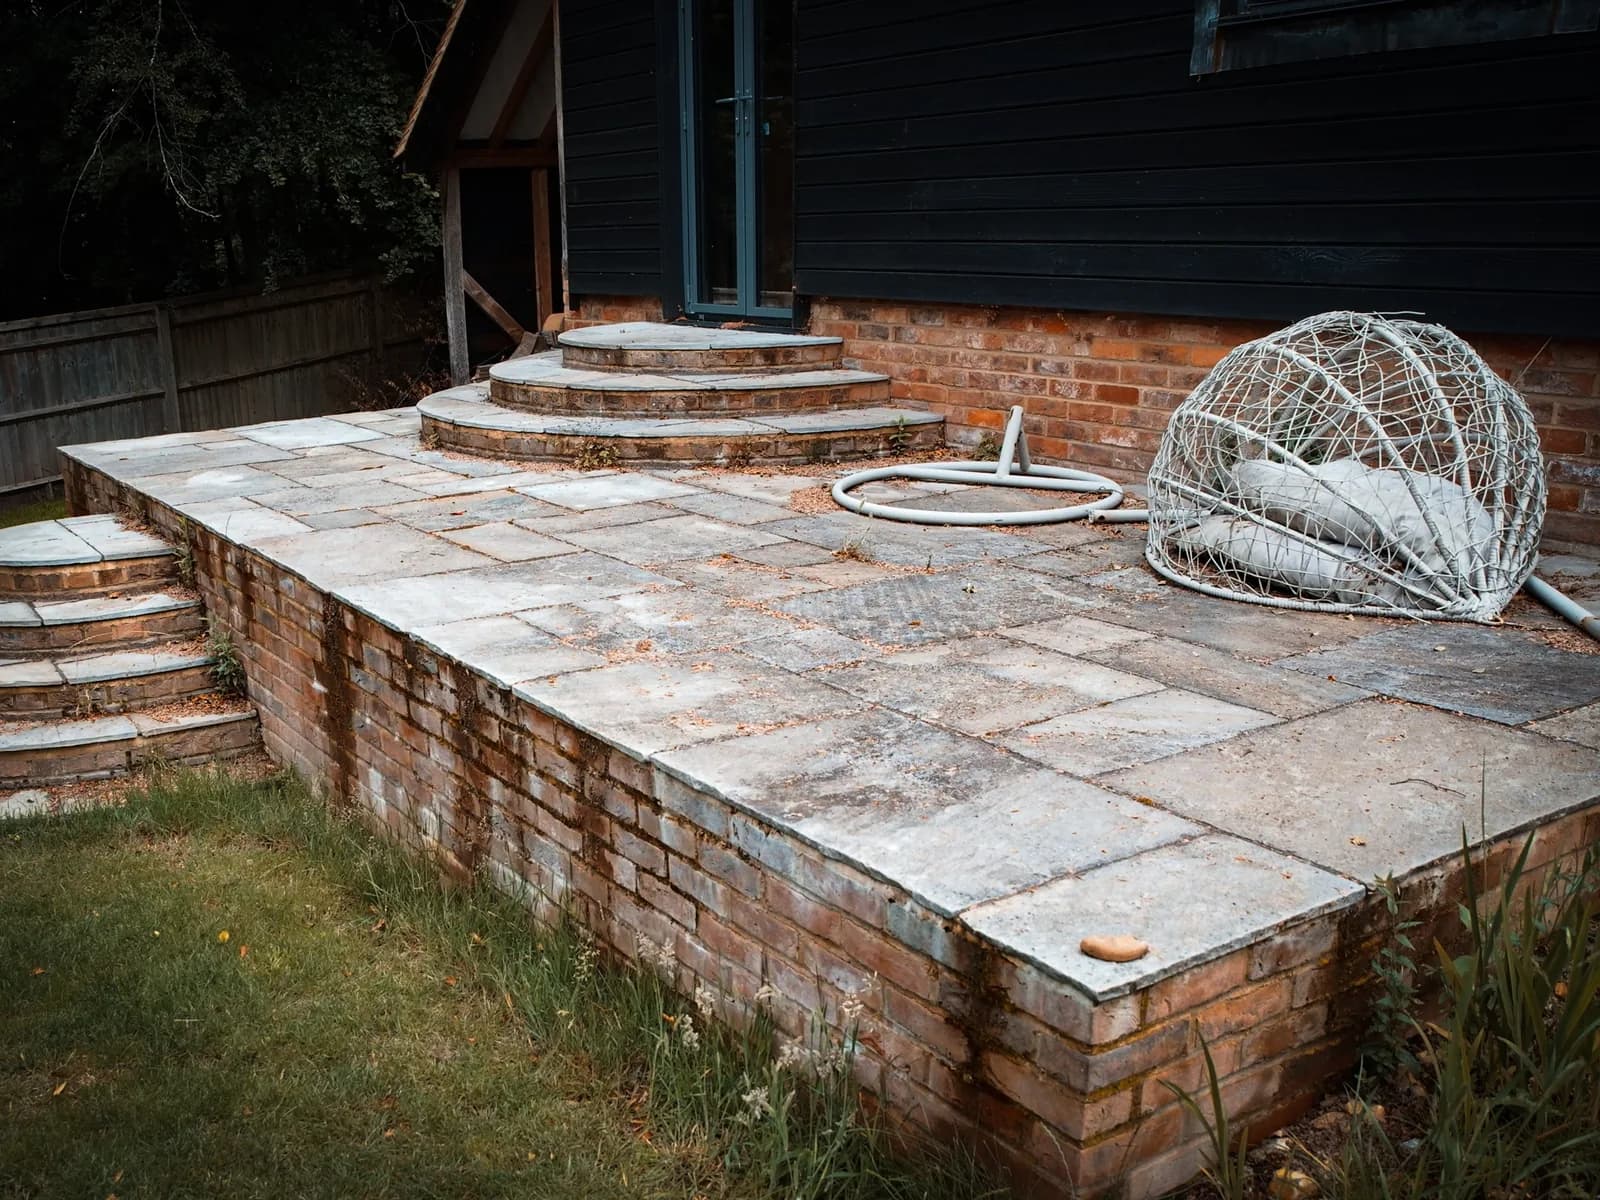
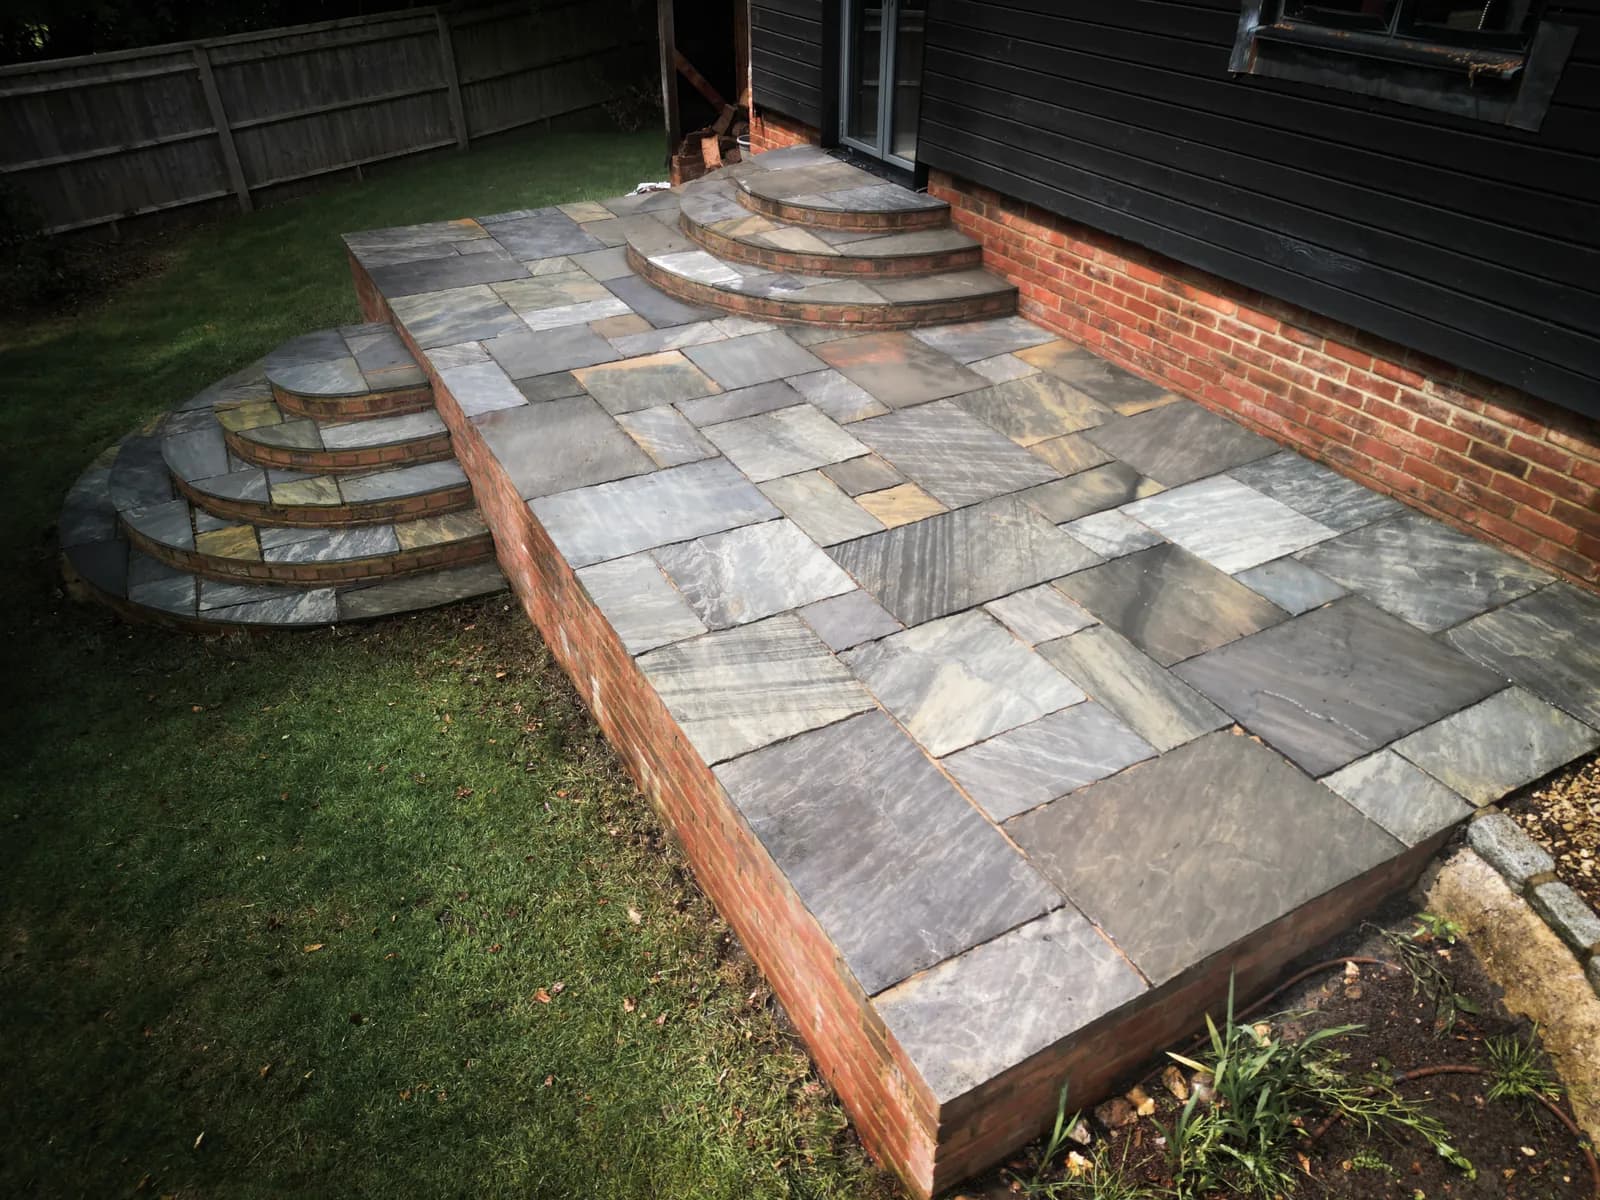
    Sandstone Patio and Brick Steps Restoration in Penn

    A large entertaining terrace in Henley-on-Thames that had greyed off and gone slippery. Restored with a controlled chemical treatment rather than brute pressure, because the stone would not have survived the alternative.

Book your free site visit

We'll assess your surfaces and recommend the right approach — no pressure, no obligation.