
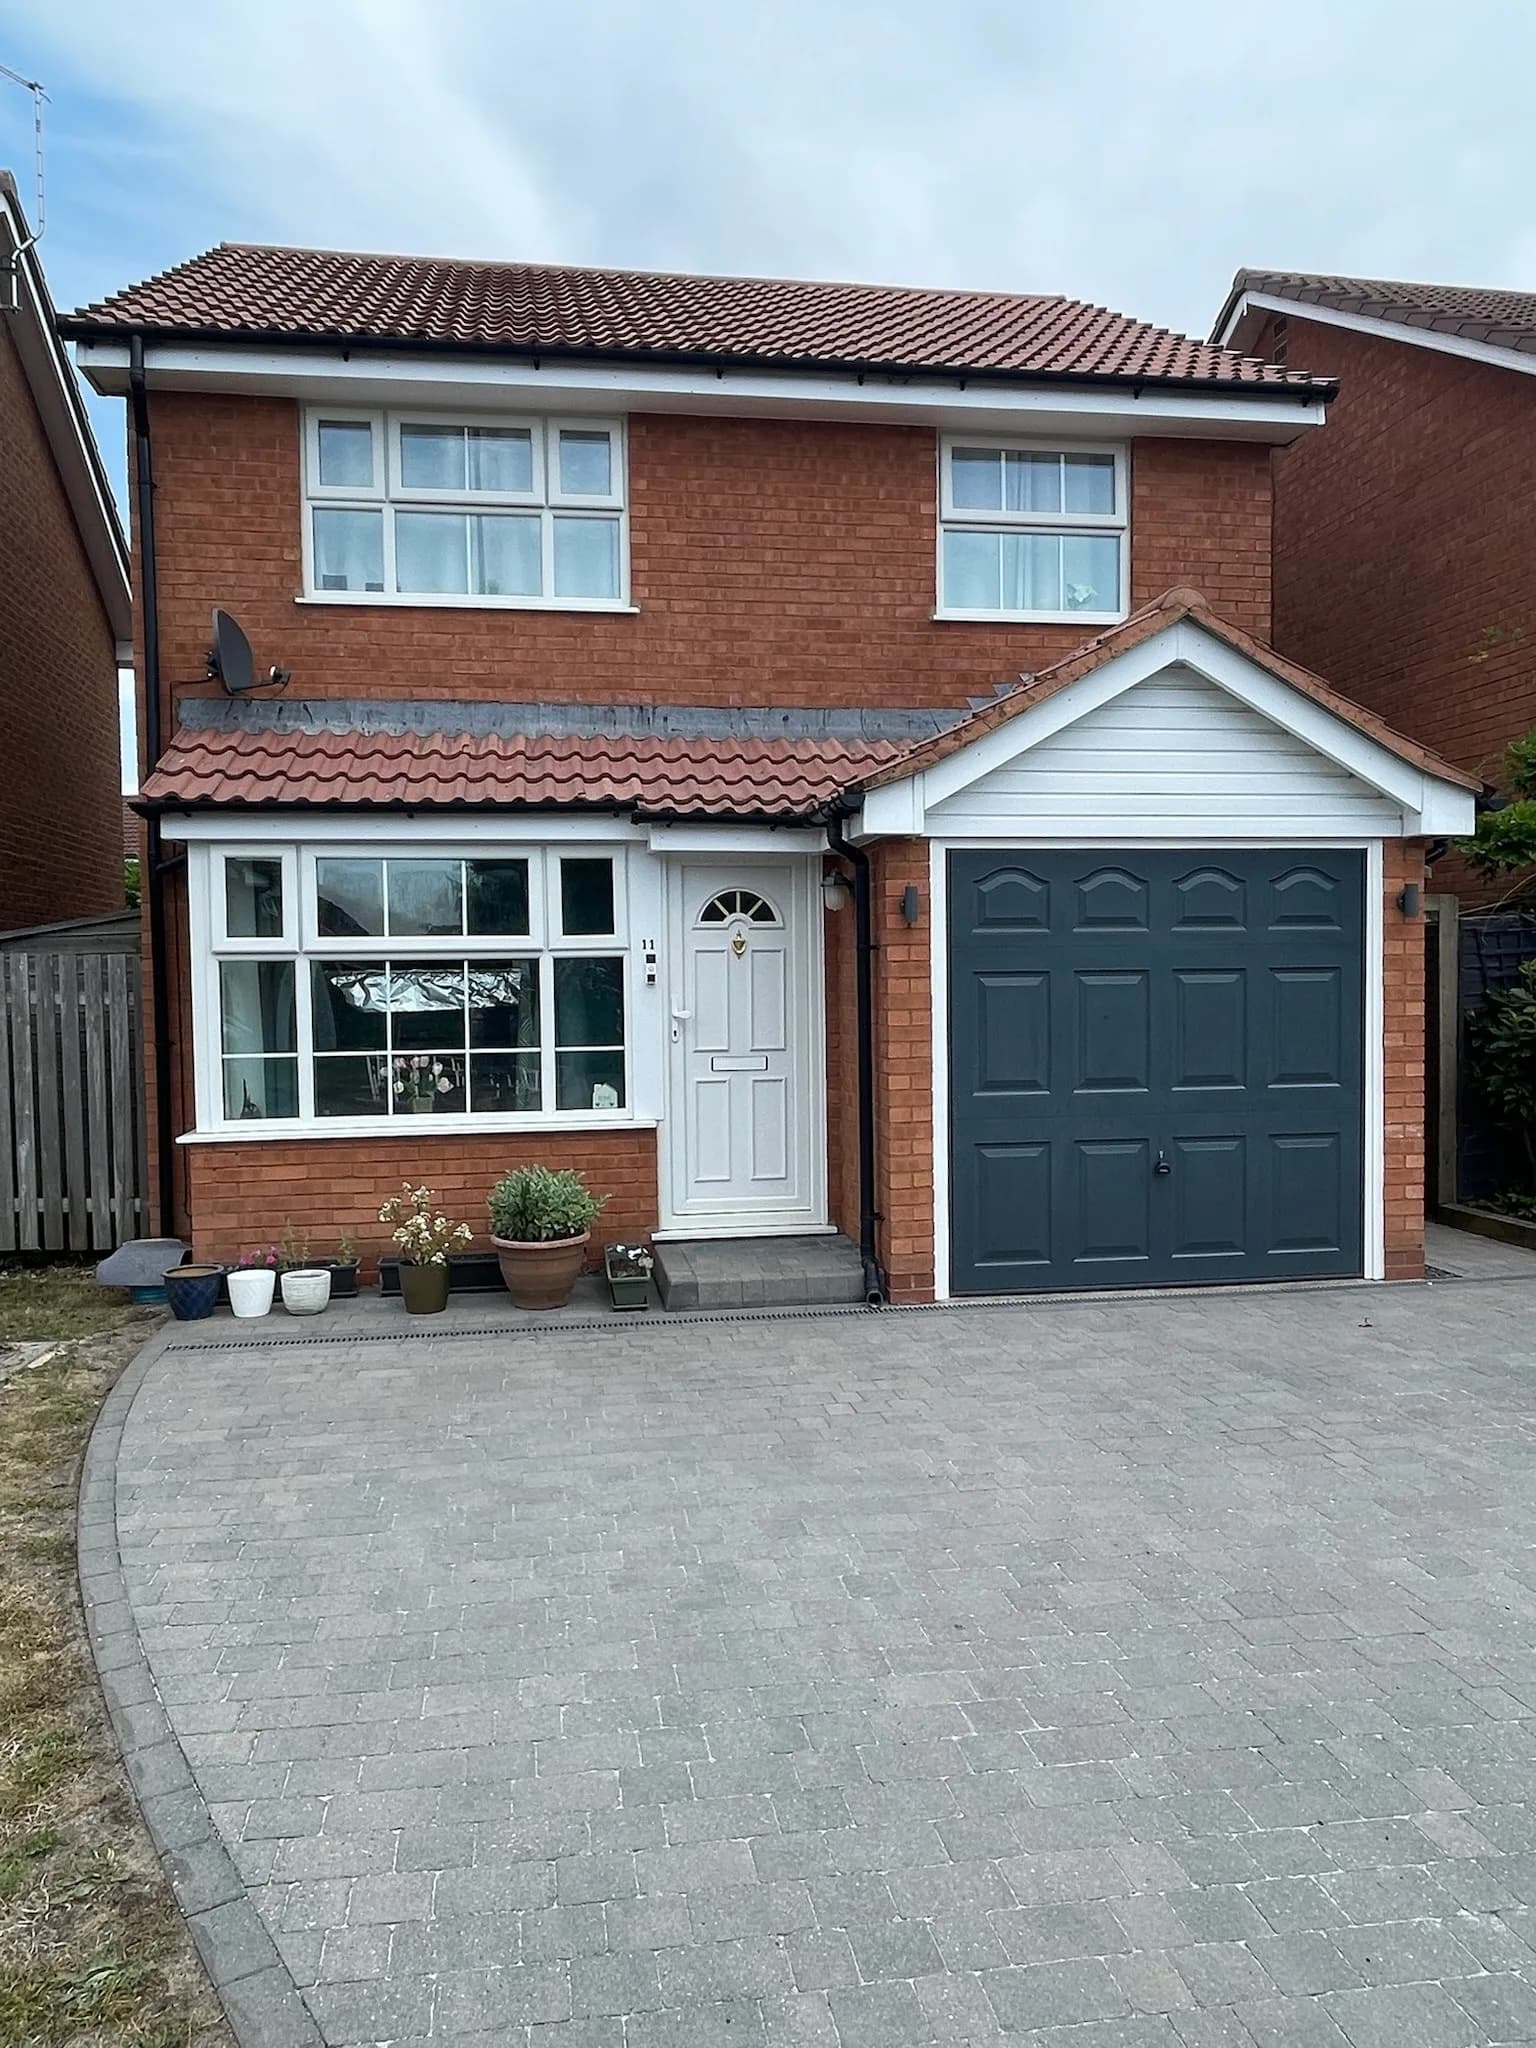
If you are planning a painting project, you may be asking one important question: do you need to clean exterior walls before painting?
The simple answer is yes. Cleaning is one of the most important steps in exterior wall preparation because it directly affects how well paint sticks and how long it lasts.
Without proper cleaning, dirt, dust, algae and moisture can cause paint failure, peeling and poor adhesion.
This guide explains everything you need to know in a simple, practical way.
Do You Need to Clean Exterior Walls Before Painting?
Yes, cleaning is essential before any exterior painting project.
Exterior walls are constantly exposed to:
- Dust and dirt
- Rain and moisture
- Mould and mildew
- Algae growth
- Pollution and debris
If you skip cleaning, the paint will sit on a dirty surface instead of bonding properly.
This leads to:
- Poor paint adhesion
- Early peeling
- Patchy finish
- Reduced paint lifespan
So, before applying any exterior paint, the surface must be clean and stable.
Why Cleaning Exterior Walls Before Painting Is Important
Proper surface preparation is the foundation of any successful painting job.
Improves Paint Adhesion
Paint sticks best to a clean surface. Dirt and grease block proper bonding.
Prevents Paint Failure
If contaminants remain, the paint may start peeling or flaking within months.
Removes Mould and Mildew
Biological growth like mould and mildew can continue growing under paint layers.
Increases Paint Lifespan
Clean surfaces allow paint to last longer and perform better in harsh weather.
What Happens If You Don’t Clean Exterior Walls Before Painting?
Painting over dirty walls causes long-term problems.
Common issues include:
- Peeling paint
- Blistering surfaces
- Uneven texture
- Discoloration
- Weak adhesion
In many cases, the paint job fails much faster than expected.
This is why professionals always prioritise wall preparation before applying coatings.
Common Contaminants on Exterior Walls
Before painting, it’s important to understand what you are cleaning.
Dirt and Dust
Builds up over time and blocks proper paint bonding.
Mould
Appears in damp areas and spreads quickly if not removed.
Mildew
A surface-level growth that affects appearance and paint finish.
Algae
Often seen as green stains on shaded walls.
Efflorescence
White powdery deposits caused by moisture in masonry.
These contaminants must be removed during cleaning walls before painting.
How Professionals Prepare Exterior Walls
Professional cleaners follow a structured process for exterior wall preparation.
It usually includes:
- Surface inspection
- Removal of loose dirt
- Treatment of mould and algae
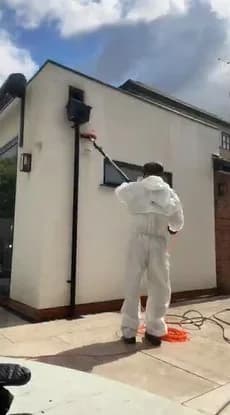
- Washing using controlled pressure or soft washing
- Drying time before painting
This ensures the surface is fully ready for paint application.
Pressure Washing vs Soft Washing Before Painting
Choosing the right method is important for surface safety.
Pressure Washing
- Removes heavy dirt
- Good for concrete and brick
- Can damage delicate surfaces
Soft Washing
- Uses low pressure
- Removes mould and algae
- Safer for render and painted walls
Both methods are used in painting preparation, depending on the surface condition.
Best Way to Clean Exterior Walls Before Painting
The best method depends on the wall type.
General process includes:
- Remove loose dirt
- Treat mould and mildew
- Wash the surface properly
- Allow full drying
- Repair cracks or damage
- Apply primer if needed
This ensures strong paint adhesion improvement and long-lasting results.
Preparing Different Types of Exterior Walls
Brick Walls
Brick absorbs moisture and often develops algae and efflorescence.
Render Walls
Needs gentle cleaning to avoid surface damage.
Concrete Walls
Can handle stronger cleaning methods.
Painted Surfaces
Require careful washing to avoid stripping old paint.
Why Surface Preparation Affects Paint Durability
Poor preparation leads to weak paint performance.
Good preparation ensures:
- Strong adhesion
- Smooth finish
- Long-lasting protection
- Better weather resistance
This is why surface preparation is the most important step in any painting project.
Role of Moisture in Paint Failure
Moisture is one of the biggest causes of paint damage.
If walls are damp:
- Paint will not stick properly
- Blistering may occur
- Mould can grow under paint layers
This is why drying time is critical after cleaning.
How to Clean Exterior Walls Before Painting
Proper cleaning walls before painting is a key step that improves finish quality and paint durability.
The cleaning method depends on the condition of the surface.
Step 1: Remove Loose Dirt and Dust
Start by removing surface debris.
You can use:
- Dry brushing
- Soft sweeping brush
- Low-pressure rinse
This helps prepare the wall for deeper cleaning
Step 2: Treat Mould, Mildew and Algae
Biological growth must be treated before painting.
Apply suitable cleaning solutions to:
- Kill mould spores
- Break down mildew stains
- Remove algae buildup
This step is essential for proper mould removal before painting.
Step 3: Wash the Surface Properly
Depending on the surface type:
- Use pressure washing for hard masonry
- Use soft washing for delicate render or painted surfaces
This ensures deep cleaning without damage.
Step 4: Rinse Thoroughly
All cleaning residues must be removed.
Leftover chemicals or dirt can affect:
- Paint adhesion
- Surface smoothness
- Final finish quality
Step 5: Allow Proper Drying Time
Walls must be completely dry before painting.
Drying time depends on:
- Weather conditions
- Wall material
- Moisture levels
Painting a damp wall can lead to serious paint failure.
Essential Tools for Exterior Wall Preparation
Using the right tools improves cleaning results.
Common tools include:
- Pressure washer
- Soft wash system
- Scraper for loose paint
- Wire brush
- Sandpaper
- Cleaning solution
- Protective gloves
These tools help achieve proper surface preparation before painting.
Removing Loose and Flaking Paint
Old paint must be removed before applying new layers.
If not removed:
- New paint will not bond properly
- Surface will become uneven
- Peeling may occur again
Use scrapers or sanding tools to prepare the surface.
Repairing Cracks and Surface Damage
Before painting, inspect walls for damage.
Common issues include:
- Cracks in brick or render
- Holes in plaster
- Surface erosion
These should be repaired using filler or mortar.
This improves paint durability and ensures smooth coverage.
Do You Need Primer After Cleaning Exterior Walls?
Yes, in most cases primer is highly recommended.
Primer helps:
- Improve paint adhesion
- Seal porous surfaces
- Create a uniform base
- Increase paint lifespan
It is especially important for:
- Brick walls
- Render surfaces
- Highly absorbent materials
Common Mistakes When Preparing Exterior Walls
Many painting problems happen due to poor preparation.
Avoid these mistakes:
Painting Dirty Surfaces
Dirt prevents proper bonding.
Skipping Mould Treatment
Mould can grow through paint layers.
Not Allowing Drying Time
Moisture causes bubbling and peeling.
Ignoring Surface Damage
Cracks will show through new paint.
Using Wrong Cleaning Method
High pressure can damage soft surfaces.
Drying Time Before Painting Exterior Walls
Drying is one of the most important steps in exterior wall preparation.
Walls should be fully dry before painting.
Factors affecting drying time:
- Temperature
- Humidity
- Wall material
- Sun exposure
On average, it may take:
- 24–48 hours for normal walls
- Longer for damp or thick masonry
Why Clean Walls Improve Paint Lifespan
Clean walls help paint last longer because:
- There is better adhesion
- No biological growth remains
- Surface is stable and dry
- Paint spreads evenly
This results in a stronger, longer-lasting finish.
Professional Exterior Wall Preparation
Professionals follow a structured process:
- Inspection of surface condition
- Deep cleaning using correct method
- Removal of contaminants
- Repair of damaged areas
- Application of primer
- Final surface check before painting
This ensures maximum durability and performance.
Professional Level Wall Assessment Before Painting
Before any cleaning starts, professionals always carry out a deeper wall assessment. This step is often skipped in DIY projects, but it is critical for achieving a long-lasting exterior paint finish.
A proper inspection helps identify hidden issues that affect paint adhesion and durability.
Checking Wall Porosity
Different walls absorb water differently.
- Highly porous walls (like old brick) absorb moisture quickly
- Dense surfaces (like painted render) hold moisture longer
- Concrete surfaces sit in between
If the wall is too porous or too sealed, it can affect how paint bonds.
This is why surface testing is important before cleaning exterior walls before painting.
Identifying Hidden Damp Problems
Not all damp is visible.
Signs of hidden moisture include:
- Slight discoloration patches
- Cold wall sections
- Soft render areas
- Musty smell on exterior surfaces
If damp is present, painting too early will trap moisture inside the wall.
This leads to:
- Paint blistering
- Mould growth under paint
- Premature peeling
Proper drying and treatment must be completed first.
Advanced Cleaning Preparation Techniques
Professional exterior cleaning often includes deeper preparation techniques beyond basic washing.
Pre-Treatment of Stubborn Stains
Some stains cannot be removed with water alone.
These include:
- Long-term algae stains
- Deep black mould patches
- Traffic pollution marks
- Organic buildup in shaded areas
Pre-treatment solutions help break down these stains before washing.
This improves the final surface preparation quality significantly.
Agitation Cleaning (Brushing Method)
For heavily contaminated walls, manual agitation is used.
This includes:
- Soft brushing of affected areas
- Targeted scrubbing of mould patches
- Breaking down stubborn dirt layers
This method ensures contaminants are fully lifted before rinsing.
It is especially useful on:
- Render walls
- Brick joints
- Textured surfaces
Paint Adhesion Science (Why Cleaning Actually Matters)
Many homeowners ask why cleaning is so important before painting.
The reason is simple: paint needs a stable surface to bond.
If dirt or biological growth is present:
- Paint sticks to the dirt, not the wall
- Layers separate over time
- Moisture becomes trapped underneath
This is what causes long-term paint failure.
Clean Surface = Strong Bond
A properly cleaned wall allows:
- Even paint absorption
- Strong chemical bonding
- Smooth application
- Long-lasting finish
This is why professionals never skip wall preparation.
Role of Primer in Exterior Painting Success
Primer is often underestimated, but it plays a major role in durability.
What Primer Does:
- Seals porous surfaces
- Improves paint adhesion
- Creates uniform base colour
- Reduces paint absorption
- Strengthens coating performance
Without primer, paint may soak unevenly into walls.
This leads to:
- Patchy finish
- Higher paint usage
- Weak surface bonding
Primer is especially important for:
- Newly cleaned brick
- Render surfaces
- Bare masonry
- Repaired areas
Surface Neutralization After Cleaning
After chemical or bleach-based cleaning, surfaces may need neutralization.
This step ensures no cleaning residue remains on the wall.
Why Neutralization Matters:
- Prevents chemical reaction with paint
- Ensures stable pH level
- Improves coating adhesion
- Avoids discoloration issues
If this step is skipped, paint may react poorly with leftover cleaning agents.
Edge Case Problems That Affect Exterior Painting
Some problems are not obvious but still affect results.
Salt Migration in Walls
Salts inside masonry can move to the surface over time.
This leads to:
- White staining
- Paint bubbling
- Surface damage
This is why efflorescence treatment is important before painting.
Old Coating Breakdown
Older paint layers may look fine but can be unstable underneath.
Signs include:
- Hollow sound when tapped
- Fine cracking lines
- Chalky surface texture
These must be addressed before repainting.
Weather-Related Surface Stress
Walls exposed to harsh weather often expand and contract.
This causes:
- Micro-cracks
- Weak surface layers
- Moisture entry points
Proper cleaning and repair help stabilize these areas before painting.
Final Professional Insight: Timing Matters
Even with perfect cleaning, timing is critical.
Painting should not begin immediately after cleaning unless conditions are right.
Ideal timing includes:
- Dry weather window
- Stable temperature
- Fully dried surface
- No rain forecast
If timing is wrong, even a well-prepared surface can fail.
Why This Level of Preparation Matters
High-quality exterior painting is not just about paint.
It depends heavily on:
- Surface condition
- Cleaning quality
- Moisture control
- Repair work
- Primer application
When all steps are done correctly, the result is:
- Stronger paint bonding
- Cleaner finish
- Longer lifespan
- Reduced maintenance
This is the difference between short-term and professional-grade results.
Why Choose Professional Help
DIY cleaning can work for small areas, but professionals are better for:
- Large properties
- Heavy mould or algae
- Delicate surfaces
- High or difficult walls
Professional preparation ensures safer and longer-lasting results.
Benefits of Proper Exterior Wall Cleaning Before Painting
- Strong paint adhesion
- Smooth finish
- Longer paint lifespan
- Reduced maintenance
- Better weather protection
- Improved appearance
Proper cleaning is always worth the effort.
Conclusion
If you are asking if you need to clean exterior walls before painting, the answer is almost always yes. Cleaning is a critical part of exterior wall preparation and directly impacts paint performance, durability and finish quality.
Without proper cleaning, dirt, mould, mildew and algae can cause paint failure, peeling and uneven results. With the right surface preparation, you can achieve a smooth, long-lasting and professional finish.
For best results, always ensure:
- Walls are fully cleaned
- Contaminants are removed
- Surfaces are properly dried
- Damage is repaired
- Primer is applied where needed
At Chiltern Surface, we specialise in professional exterior cleaning, wall preparation, and surface restoration to ensure your property is fully ready for painting.
If you want a clean, properly prepared exterior ready for painting, contact Chiltern Surface today. Our expert team ensures your walls are cleaned safely and professionally for long-lasting paint results and improved property appearance.
Frequently asked questions
Do you need to clean exterior walls before painting?
Yes, cleaning is essential. It removes dirt, mould, mildew and algae that can affect paint adhesion and finish quality.
What happens if you paint dirty exterior walls?
Paint may peel, crack or fail early because it cannot bond properly to a contaminated surface.
Can you pressure wash exterior walls before painting?
Yes, pressure washing is commonly used for hard surfaces, but it must be done carefully to avoid damage.
Is soft washing better than pressure washing before painting?
Soft washing is safer for delicate surfaces and is highly effective for removing mould, mildew and algae.
How long should exterior walls dry before painting?
Usually 24–48 hours, depending on weather, wall type and moisture levels.
Can you paint over mould on exterior walls?
No. Mould must be removed first, or it will continue growing under the paint layer.
Do you need primer after cleaning exterior walls?
Yes, primer improves adhesion, seals surfaces and increases paint durability.
What is the best way to prepare exterior walls for painting?
Clean the surface, remove contaminants, repair damage, allow drying time and apply primer if needed.
Why does exterior paint peel?
Peeling usually happens due to poor cleaning, moisture, or lack of proper surface preparation.
Can algae affect exterior paint?
Yes, algae can weaken paint adhesion and cause discoloration over time.
Do you always need to clean exterior walls before painting?
Yes. Cleaning is always recommended because dirt, dust, mould and algae can prevent proper paint adhesion and reduce paint lifespan.
What is the fastest way to clean exterior walls before painting?
The fastest method is pressure washing for hard surfaces or soft washing for delicate walls, followed by proper drying before painting.
Can you skip cleaning if the wall looks clean?
No. Even if walls look clean, invisible dust, grease or moisture can still affect paint bonding and cause early paint failure.
How clean should exterior walls be before painting?
Walls should be free from dirt, loose paint, mould, mildew, algae and any surface contamination before applying paint or primer.
Is washing walls before painting really necessary?
Yes. Washing is a key part of surface preparation and ensures the paint adheres properly for a long-lasting finish.
Can you paint directly on old exterior paint?
Only if the surface is stable, clean and not flaking. Otherwise, cleaning and surface preparation are required.
What cleaning solution is best before painting exterior walls?
A mild cleaning solution or professional-grade soft wash treatment is best for removing mould, mildew and dirt safely.
How long after washing walls can you paint?
Usually 24-48 hours, depending on weather, wall type and moisture levels. Walls must be fully dry before painting.
What happens if you paint over mildew?
Mildew will continue growing under the paint, causing stains, peeling and early paint failure.