
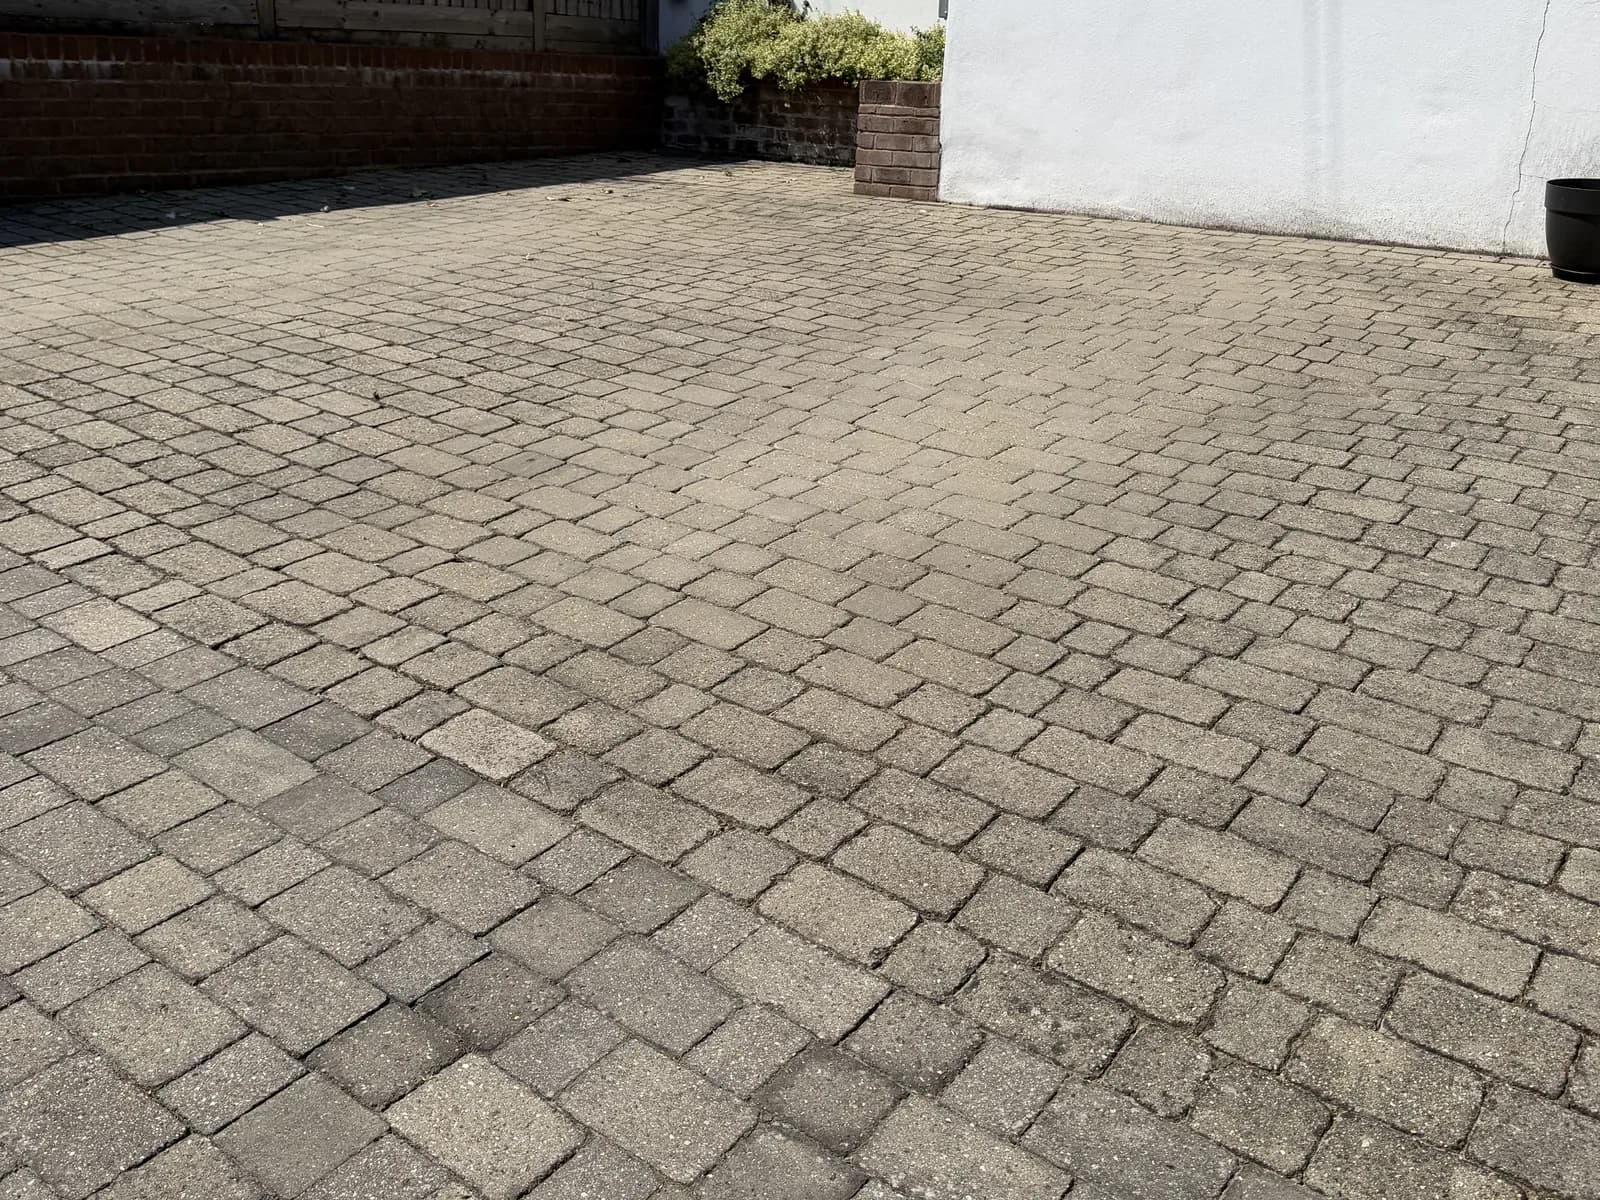
To restore a driveway, clean the surface, treat stains, repair minor defects, rebuild joints, and apply suitable protection. This guide explains how to restore a driveway by matching every stage to the surface material and current condition. Replace or resurface the driveway when widespread settlement, failed drainage, or severe structural damage affects the base. A proper assessment prevents wasted cleaning, unsuitable sealing, and repairs that hide deeper problems.
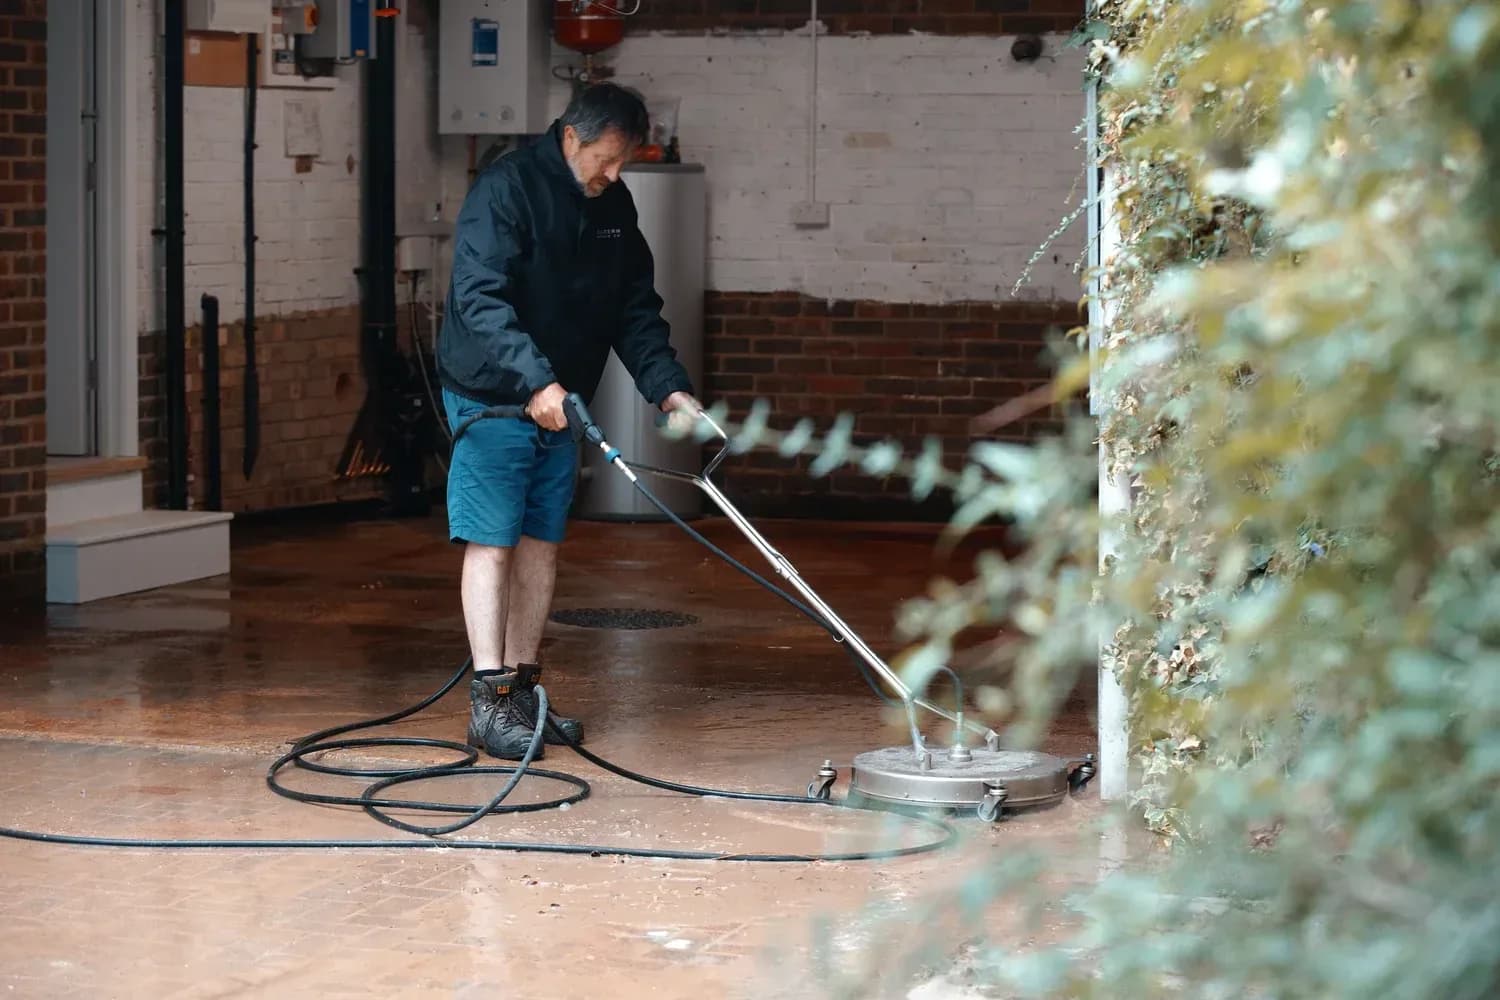
How to Restore a Driveway Without Replacing It
To restore a driveway without replacement, start with a detailed inspection and separate cosmetic deterioration from structural failure. Dirt, algae, moss, weeds, faded colour, empty joints, and local stains usually support restoration. Widespread sinking, moving slabs, recurring potholes, and extensive cracking usually require construction work.
Learning how to restore a driveway involves 5 stages: assessment, cleaning, treatment, repair, and protection. Each stage must suit the surface, because one process cannot protect every material.
Identify Cosmetic Deterioration
Cosmetic problems affect appearance and surface grip without proving that the sub-base has failed. Common examples include green algae, black organic staining, tyre marks, weeds, surface dirt, and faded sealers. Professional cleaning often restores definition, colour, and safer traction when the underlying driveway remains stable.
Identify Local Repair Needs
Local problems include isolated cracks, loose blocks, missing jointing, small depressions, and worn coatings. Repair each defect after cleaning exposes the full condition and supports better bonding.
Identify Structural Failure
Structural failure affects the foundation, drainage, level, or load-bearing performance. Warning signs include widespread settlement, repeated movement, major edge collapse, deep potholes, and water flowing towards the house. Cleaning cannot correct failed foundations, so request installation or drainage advice before spending money on surface treatments.
How to Decide Whether Driveway Restoration Is Suitable
The decision about how to restore a driveway starts with stability, drainage, material type, and previous treatments. Restoration suits a level, supported surface, while widespread foundation failure usually needs replacement.
Check Surface Stability
Walk the full driveway and note rocking blocks, hollow areas, soft edges, depressions, and loose aggregate. Mark every defect with removable chalk and watch for repeated movement under normal vehicle loads.
Check Drainage Performance
Inspect the driveway after rainfall or a controlled hose test. Look for standing water, blocked channels, runoff towards walls, and washed-out joints. Poor drainage can undermine repairs, spread stains, and accelerate frost-related damage.
Check Previous Coatings
Identify old sealers, paint-like coatings, patch products, and jointing compounds before applying new treatments. Incompatible coatings can peel, cloud, trap moisture, or create uneven colour. Test cleaning and protective products on a discreet area before treating the full driveway.
What Preparation Does Driveway Restoration Require?
Before asking how to restore a driveway, confirm the material, condition, access, and nearby surfaces.
Preparation controls the final result because cleaning exposes defects and affects every later repair. Clear the driveway, protect nearby areas, and choose equipment after identifying the material. The correct preparation also prevents dirty runoff from reaching lawns, drains, walls, and neighbouring surfaces.
Clear and Record the Area
Move vehicles, bins, planters, furniture, and loose edging away from the work area. Photograph stains, cracks, joints, and drainage points before cleaning to support accurate repair planning.
Protect Surrounding Surfaces
Cover sensitive items such as painted doors, low vents, electrical fittings, and delicate garden features. Direct water away from planted borders and surface drains. Chiltern Surface Co follows a surface-specific cleaning approach that considers glass, paintwork, plants, drainage, and existing damage.
Choose Surface-Safe Equipment
Select brushes, weed tools, controlled washing equipment, and surface-compatible products. Avoid maximum pressure because force can remove jointing, mark stone, and damage resin binders.
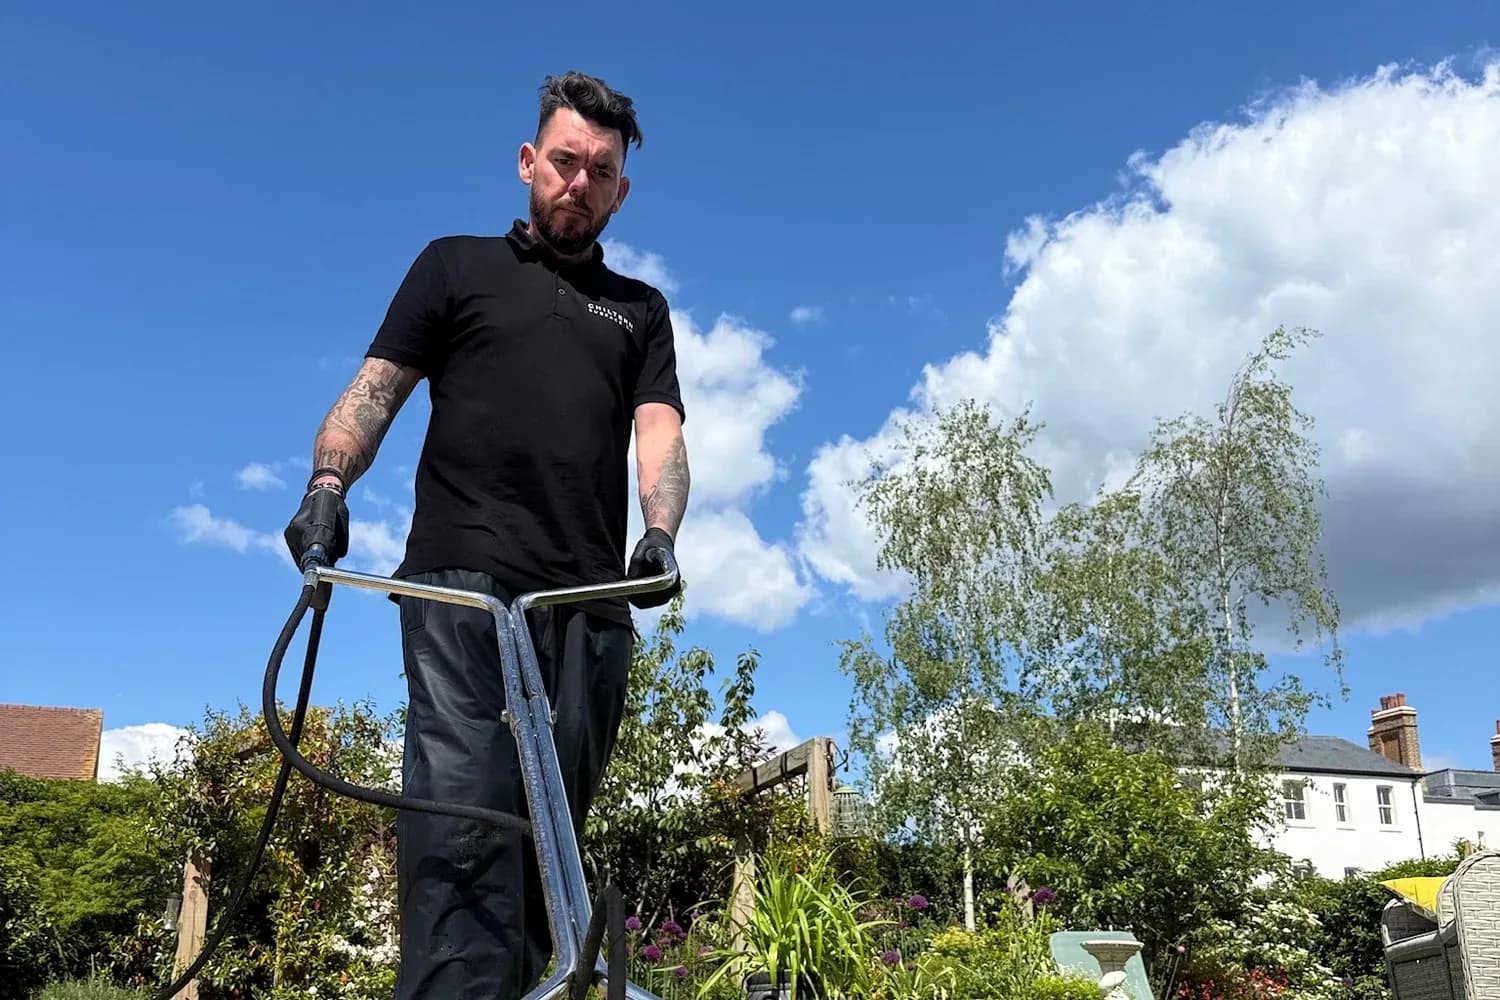
How to Restore a Driveway Step by Step
To restore a driveway step by step, remove growth, clean evenly, treat stains, repair defects, and protect suitable surfaces. Complete every stage before jointing or sealing, because trapped moisture weakens results.
1. Remove Weeds and Loose Growth
Remove weeds from joints, edges, cracks, and drainage channels. Extract roots where practical, then collect loose moss, leaves, soil, and gravel. Do not leave organic debris inside joints because trapped material supports faster regrowth.
2. Deep Clean the Surface
Apply a material-safe cleaner when plain water cannot remove embedded grime. Work in controlled sections because uneven passes create stripes, exposed aggregate, or lighter patches.
3. Treat Oil and Mineral Stains
Choosing how to restore a driveway after oil staining requires realistic expectations and material-safe degreasing.
Absorb fresh oil before applying a suitable degreaser. Repeat treatment for older staining, but set realistic expectations for deeply absorbed marks. Chiltern Surface Co states that specialist treatment can reduce most oil staining, although old stains may remain partly visible.
4. Rinse and Allow Full Drying
Rinse residue without flooding joints, borders, or planting. Allow full drying before jointing or sealing, because trapped moisture prevents correct bonding.
5. Repair Local Defects
Repair small cracks, reset isolated blocks, replace broken units, and rebuild damaged edges with compatible materials. Specialists should handle hot tarmac, extensive resin failure, structural movement, or unstable sub-bases.
6. Restore Joints and Protection
Refill dry block-paving joints and compact the surface where the restoration specification requires compaction. Apply protection only after checking compatibility, weather, and drying requirements.
How to Restore a Driveway by Surface Type
The answer to how to restore a driveway changes across 7 surface categories. Block paving needs joint restoration, while resin needs controlled low-pressure cleaning.
Restore Block Paving
To understand how to restore a driveway with block paving, inspect joint depth and block movement after cleaning.
Deep cleaning removes grime, algae, moss, weeds, and failing joint material. Dry joints need fresh jointing before the blocks regain proper interlock. Professional compaction and polymeric jointing improve stability and resist washout, erosion, weeds, and insect activity.
Chiltern Surface Co removes old jointing, refills joints, mechanically compacts paving, and applies protective aftercare. The service targets appearance, stability, and slower organic regrowth.
Restore Resin-Bound Surfacing
To plan how to restore a driveway with resin, inspect binder wear before applying water pressure.
Use a low-pressure method that protects the exposed resin binder. Remove dirt, algae, moss, and staining without repeated aggressive washing. Frequent high-pressure cleaning accelerates wear and reduces the surface's long-term appearance.
Cleaning cannot reconnect loose aggregate or repair a failing resin base. Specialist assessment should precede local repairs and protective treatment.
Restore Tarmac
To decide how to restore a driveway with tarmac, separate surface fading from structural breakup.
Sweep debris, treat moss and algae, clean gently, and repair local cracks or potholes. Aggressive pressure can loosen aged aggregate and expose weak areas. A specialist coating can restore colour where the tarmac remains sound and compatible.
Request a construction assessment when widespread breakup, deformation, or repeated potholes indicate base failure. Surface dressing cannot stabilise a failed foundation.
Restore Concrete and Pattern-Imprinted Concrete
To decide how to restore a driveway with concrete, identify cracks, stains, and previous coatings first.
Clean concrete evenly, remove stains, and repair minor cracks with compatible materials. Avoid strong acids because harsh chemicals can etch the surface and damage nearby materials. Pattern-imprinted concrete often benefits from professional resealing after the existing sealer fades or wears.
A suitable sealer can improve colour, stain resistance, and water protection. Use a compatible anti-slip system and test compatibility with old coatings.
Restore Natural Stone and Porcelain
To learn how to restore a driveway with stone, identify the material before selecting chemicals or pressure.
Identify sandstone, limestone, granite, slate, or porcelain before selecting products. Natural stones react differently to pressure and chemicals. Acidic products can damage limestone and other acid-sensitive materials.
Porcelain still collects algae, traffic film, and atmospheric dirt. Use controlled cleaning that protects joints, texture, and slip characteristics.
Restore Gravel
To understand how to restore a driveway with gravel, inspect depth, rutting, edging, and drainage first.
Rake the surface, remove weeds, clear debris, and redistribute displaced aggregate. Top up thin areas with matching gravel after correcting local depressions. Inspect edging, stabilisation grids, membranes, and drainage before adding new material.
Persistent rutting and mud migration need groundwork because fresh gravel cannot correct a failed sub-base.
Which Defects Need Repair Before Cleaning or Sealing?
Repair planning forms a key part of how to restore a driveway safely. Never seal over active movement, trapped moisture, loose material, or contaminated joints.
Repair Cracks After Cleaning
Cleaning exposes the real crack edges. Use compatible repair products after drying, then monitor recurring movement for deeper causes.
Reset Sunken Blocks Before Final Jointing
Reset isolated sunken blocks when the bedding remains repairable. Correct levels, confirm safe water flow, then complete jointing and compaction.
Correct Drainage Before Protection
Planning how to restore a driveway around drainage begins with channels, outlets, gradients, and runoff direction.
Clear channels, gullies, and outlets before applying aftercare. Correct standing water and unsuitable gradients before restoration.
When Should You Re-Sand, Compact, or Reseal a Driveway?
Re-sanding, compaction, and resealing serve different purposes within how to restore a driveway. Block paving needs joint interlock, while imprinted concrete uses protective sealer.
Re-Sand Block Paving
Re-sand when cleaning removes joint material or leaves joints low. Polymeric jointing forms semi-rigid joints with stronger washout resistance.
Compact Restored Block Paving
Mechanical compaction restores block interlock after correct joint preparation. Poor technique can chip units, disturb edges, or damage unsuitable paving.
Reseal Compatible Surfaces
Reseal compatible imprinted concrete when the existing coating looks dull, worn, or patchy. Never trap dirt, moisture, loose aggregate, or unidentified coatings.
Quick Reference: Driveway Restoration Tasks
| Task | Timing | Method | Difficulty |
|---|---|---|---|
| Inspect surface and drainage | Before cleaning | Walkover, photographs, rainfall check | Easy |
| Remove weeds and debris | Before washing | Hand tools, stiff broom, collection | Easy |
| Deep clean the driveway | After preparation | Controlled pressure or low-pressure treatment | Moderate |
| Treat oil and organic stains | During cleaning | Surface-compatible specialist treatment | Moderate |
| Repair local defects | After cleaning and drying | Compatible patching or unit replacement | Moderate |
| Re-sand and compact paving | After full drying | Jointing sand and mechanical compaction | Advanced |
| Apply suitable protection | After repairs cure | Compatible sealer or growth inhibitor | Advanced |
What Mistakes Damage Driveways During Restoration?
Knowing how to restore a driveway means avoiding maximum pressure, unsuitable chemicals, premature sealing, and ignored drainage. Professional assessment reduces risk on premium or unfamiliar surfaces.
Using Excessive Pressure
Excessive force strips jointing, scars concrete, exposes aggregate, and damages resin-bound surfacing. Use the lowest effective pressure and a consistent pattern.
Applying Unsuitable Chemicals
Strong acids, bleach-heavy mixes, and incompatible degreasers can discolour surfaces and harm planting. Seek specialist advice for stone, resin, coated concrete, and unknown treatments.
Sealing Before the Surface Dries
Trapped moisture can cause whitening, poor adhesion, bubbling, and patchy appearance. Delay treatment while joints, pores, shaded sections, or repairs remain damp.
Ignoring Joint Loss
Restore every block-paving joint and compact where required. Empty joints encourage movement, washout, weeds, and edge damage.
How Long Does Driveway Restoration Take?
The time needed for how to restore a driveway depends on size, surface, staining, drying, and repairs. A basic clean can finish within 1 working day, while full restoration needs separate stages.
Weather controls drying and coating windows. Shade, deep stains, failed joints, and drainage work extend the programme.
Keep vehicles away until jointing, patches, coatings, and treatments cure. Early traffic can mark coatings and damage repairs.
Should You Restore a Driveway Yourself or Hire a Professional?
Deciding how to restore a driveway yourself depends on surface knowledge, equipment, stains, and repair complexity.
DIY work suits sweeping, light weed removal, and gentle maintenance on known surfaces. Professional work suits deep staining, complex joints, resin, stone, imprinted concrete, and uncertain coatings.
Chiltern Surface Co starts with a site visit, then identifies the surface, condition, staining, drainage, and correct method. Review common cleaning questions for details about pressure, treatments, gardens, and realistic results.
When Should You Resurface or Replace Instead?
Knowing how to restore a driveway after major damage starts with checking the sub-base and drainage.
Restoration cannot rebuild a failed sub-base. Widespread settlement, repeated potholes, major cracking, crumbling edges, and moving sections need construction assessment.
Resurfacing can suit a stable base with a worn upper layer. Replacement suits structural failure, unsuitable levels, or major drainage redesign.
Choose a route that protects long-term performance rather than hiding damage. Request an honest assessment for mixed cosmetic and structural problems.
How to Maintain a Restored Driveway
The final stage of how to restore a driveway involves planned maintenance. Inspect the surface 2 times yearly and address weeds, stains, empty joints, drainage, or movement.
Sweep organic debris before material settles inside joints. Treat fresh oil promptly and keep drainage channels clear.
Avoid frequent aggressive washing. Match maintenance to the material and protective treatment.
Restore Your Driveway with a Surface-Specific Service
A successful answer to how to restore a driveway starts with assessment, controlled cleaning, correct repairs, and suitable aftercare. Chiltern Surface Co restores 8 driveway surfaces across Buckinghamshire, Berkshire, and Oxfordshire. Book a free site visit through the driveway cleaning and restoration service for an inspection, honest recommendation, and clear quotation.
Frequently asked questions
Can you restore every old driveway?
No. Restoration suits stable driveways with dirt, growth, staining, worn joints, faded coatings, or limited local damage. Widespread base failure, sinking, major cracking, or poor drainage often needs resurfacing or replacement.
Does pressure washing restore a driveway?
No. Pressure washing only completes part of the work. Proper restoration can include weed removal, stain treatment, joint rebuilding, compaction, repairs, and protective aftercare.
Should block paving always be re-sanded after cleaning?
Yes, when cleaning removes or lowers the jointing material. Jointing supports interlock and load distribution. Professional restoration should refill joints and compact the paving where the specification requires compaction.
Can old oil stains disappear completely?
No, not always. Specialist treatment can significantly reduce many oil stains. Deep, long-standing contamination can remain visible because oil penetrates porous materials.
Is driveway sealing always necessary?
No. Sealing depends on the surface, existing coating, condition, finish, and required protection. Some surfaces need different aftercare, while incompatible sealing can create damage or slip risk.